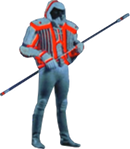
TRON (1982) Cosplay — Kevin Flynn's Helmet

Group 7 Access to Kevin Flynn's graphic templates! Includes NEW helmet airbrush stencils that can be used with Cricut!

August 21, 2016: The Cooper SK 2000 S
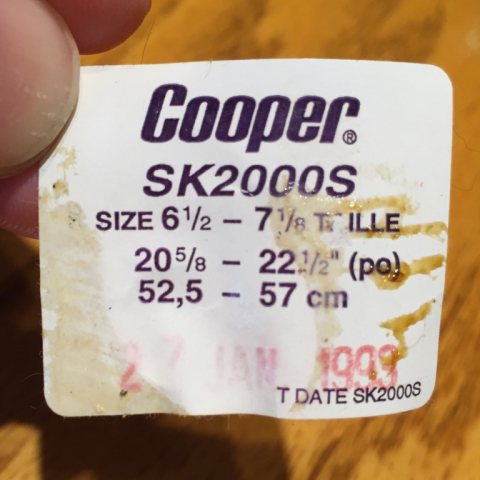
For rerezzing this cosplay for SDCC 2017, I acquired a SMALL size Cooper "SK 2000 S" hockey helmet for the Kevin Flynn costume. The Cooper SK 2000 S is - near as I can tell - the helmet used for Kevin Flynn and for other characters including Tron, Ram, and Yori (during her solar sailor scenes only).

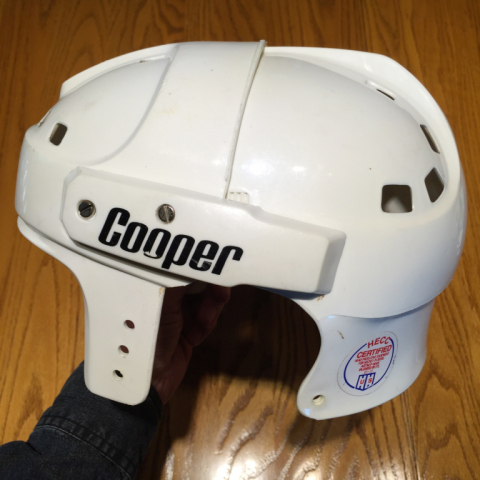
Cooper SK 2000 S (small) hockey helmet. This helmet is a magnificent specimen (Homestar!) complete with face guard and side guards.
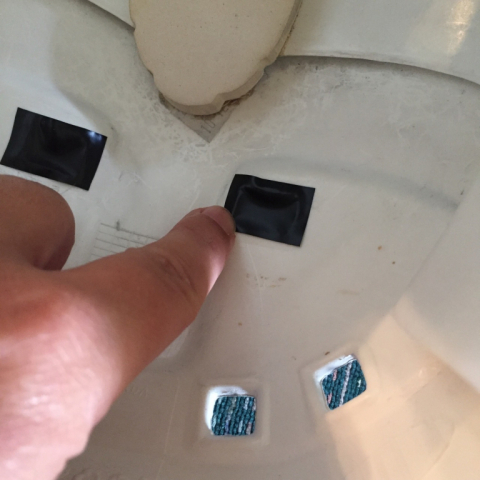
The key distinction between the small, medium and large sizes of the Cooper SK 2000 is that the small has 4 vent holes on each side at the rear of the helmet, whereas the medium (some, not all?) and large each have 5 vent holes. In studying the film, it seems that all the SK 2000 helmets used were of the small size (padding removed and customized). The helmets are adjustable, and when the small size is adjusted all the way out (to fit adult heads), it looks sleek, elongated, and integrated - as if part of the user or program itself.

The Cooper SK 2000 S has 4 vent holes on each rear side and is the helmet used - sans face and side guards - for Kevin Flynn and for other characters including Tron, Ram, and Yori (during her solar sailor scenes only).
In cosplaying Kevin Flynn for SDCC 2016, I used a large Cooper "SK 2000 L" helmet which fit well but fell short of screen-accurate in three ways: 1) it was larger in proportion, 2) it had the five vent holes issue, and 3) it had to be adjusted in all the way, resulting in smallish ear openings and line art alterations in that area.
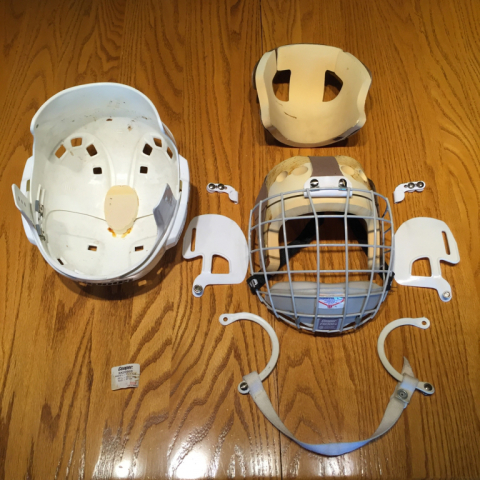
September 2, 2016: Helmet Disassembly
Part of me hates to take apart this nearly pristine Cooper helmet. But here it goes.
September 25, 2016: Cooper Bumper Repair
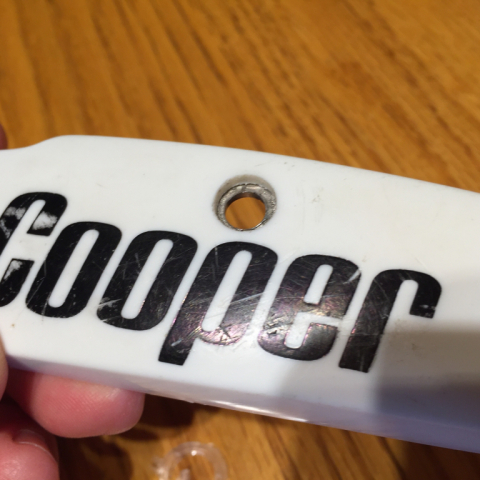
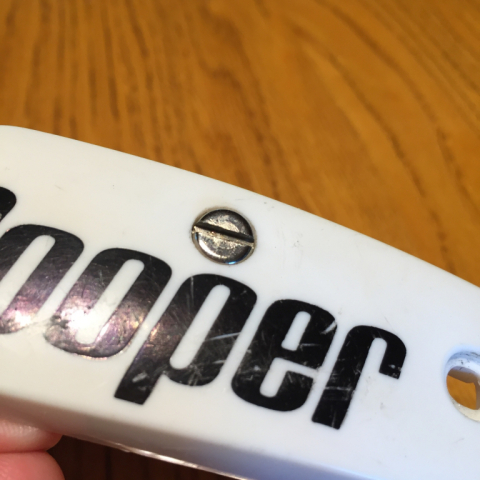
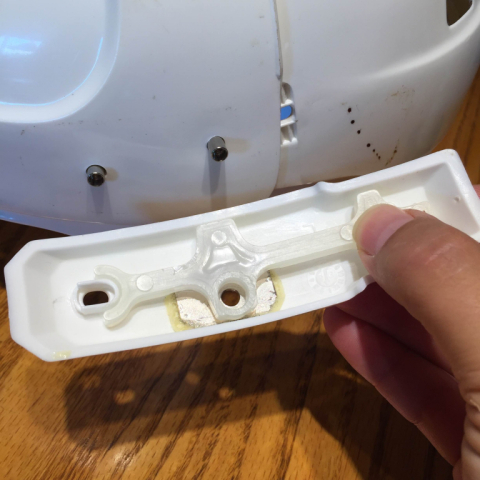
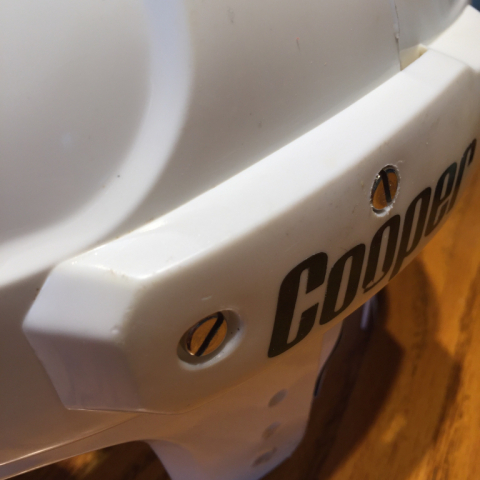
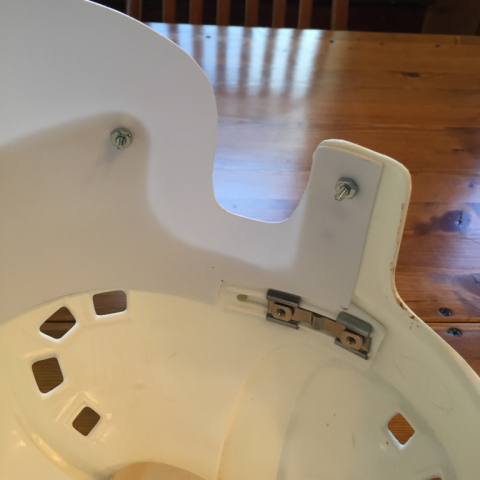
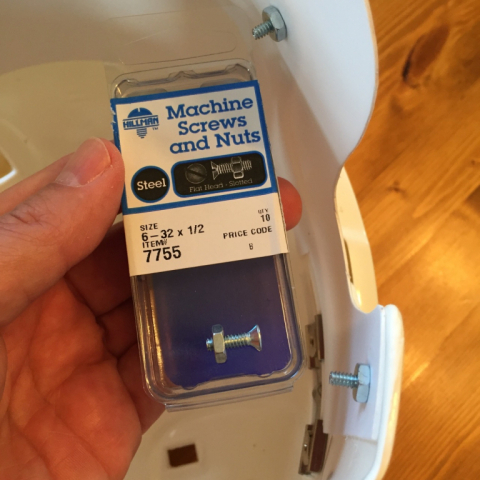
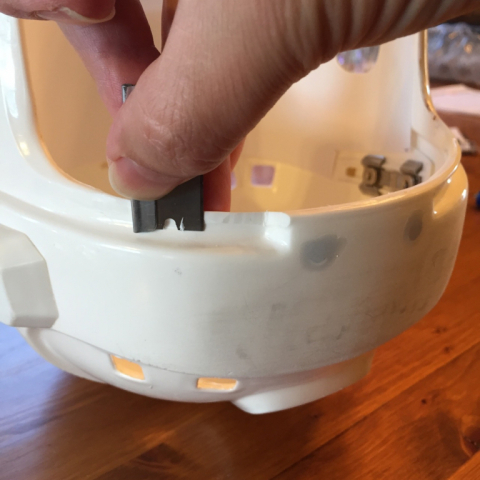
A common problem I run into with Cooper SK 2000 helmets is that the side bumper's center screw eyelet breaks off, resulting in the inability to tighten down the size adjustment. This is probably due to the age of the helmet and plastic dry rot. Not to worry, like the man says: no problems, only solutions.
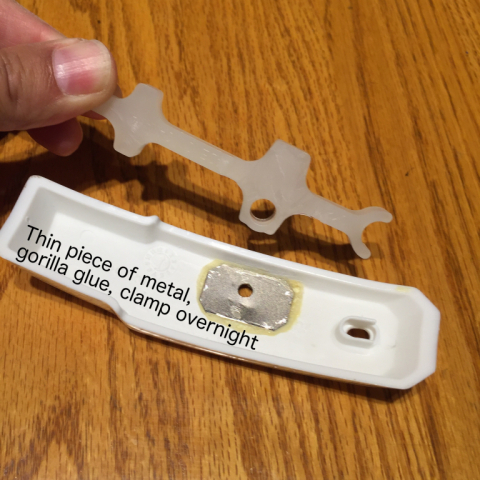
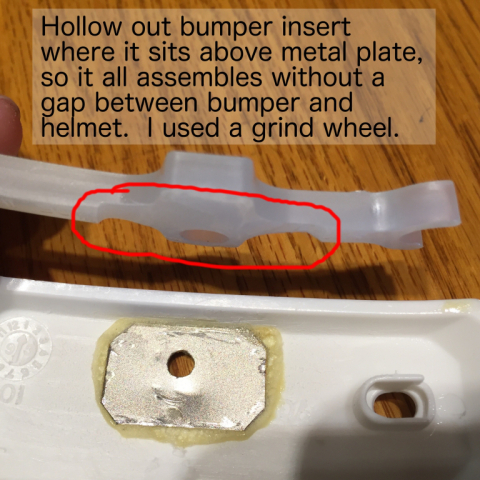
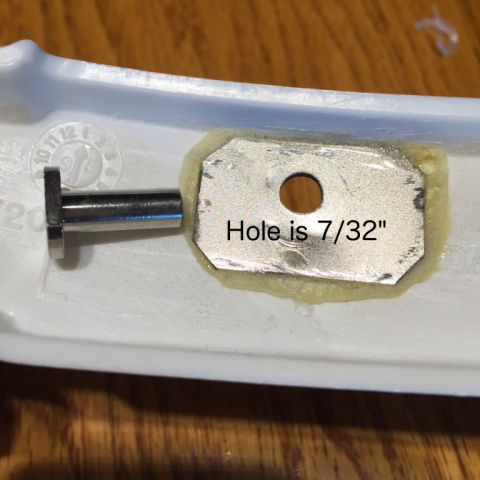
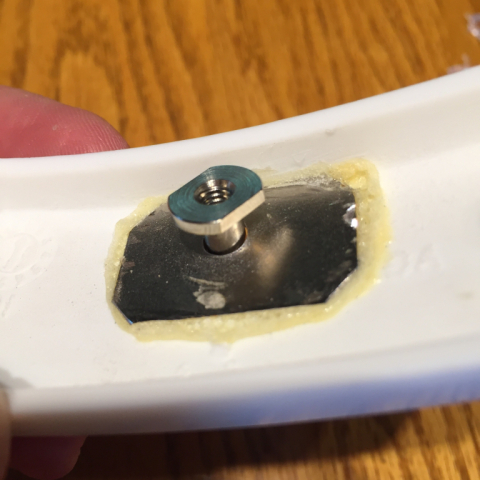
January 16, 2017: Helmet Neck Visor (vinyl backing)
The original neck visor from the film is fashioned out of craft foam. For durability, I am taking the approach I did last year by using a piece of white vinyl cut from the back of a Sterilite kitchen trash can. This material is similar in strength to the plastic of the helmet, and makes a nice surface onto which to bond craft foam in a subsequent step. Here are two 8.5"x11" printable PDFs of the template:
Cooper SK 2000 S neck visor template (left)
Cooper SK 2000 S neck visor template (right)
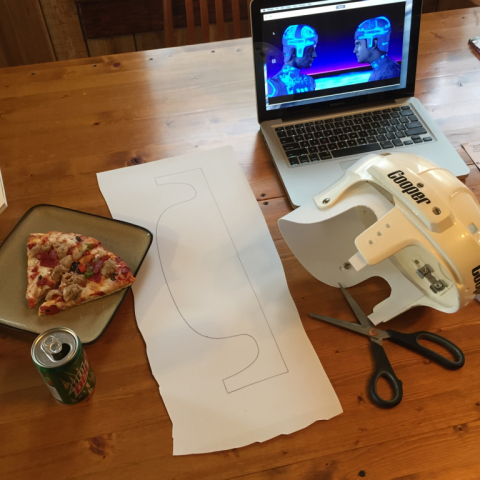
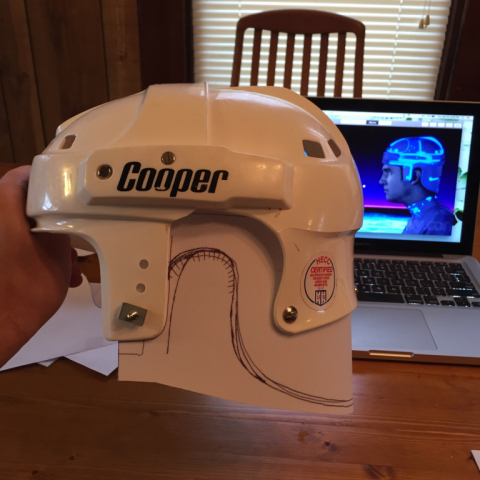
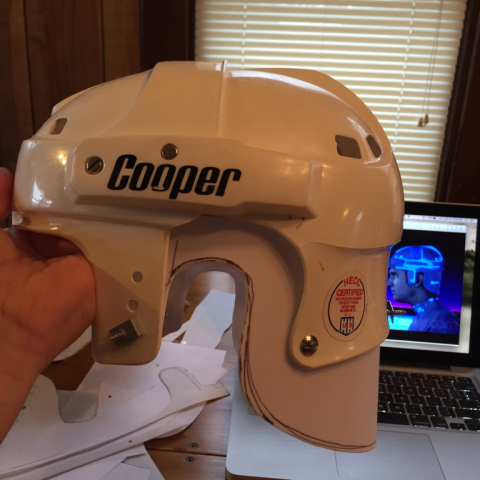
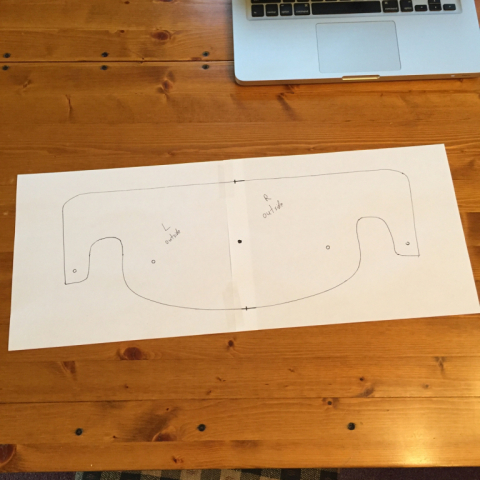
February 26, 2017: Helmet Filling and Sanding
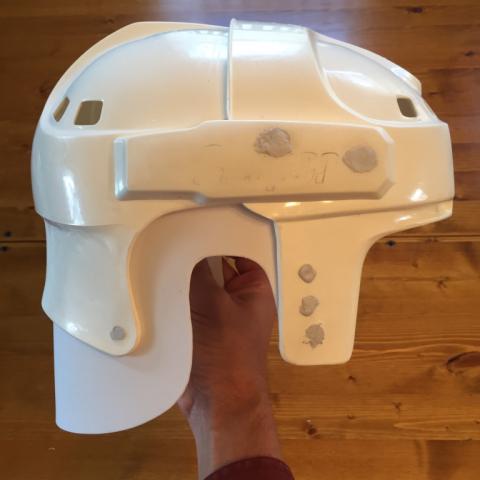
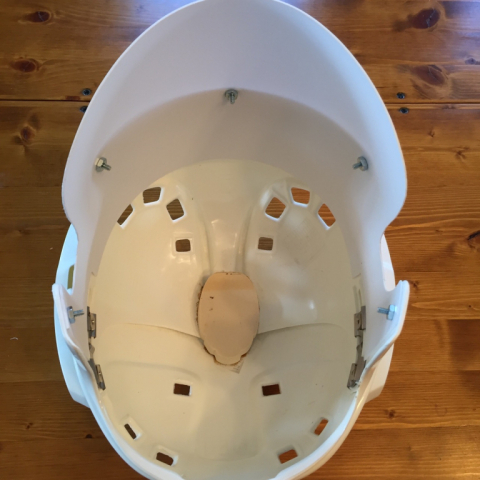
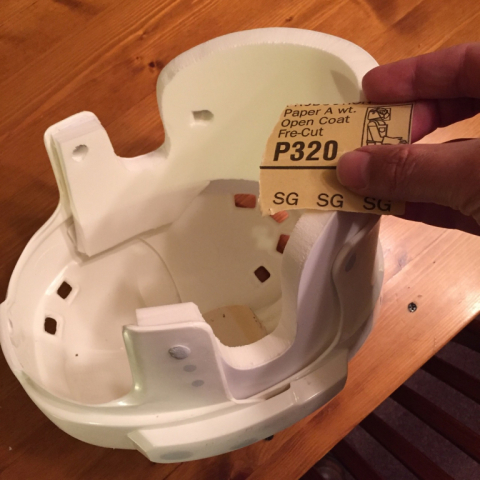
Used JB Plastic Weld to fill screw holes of side bumpers and factory holes around the helmet. At this stage, those fills are sanded smooth. More work remains on the front bezel.
March 25, 2017: Helmet Neck Visor Complete!
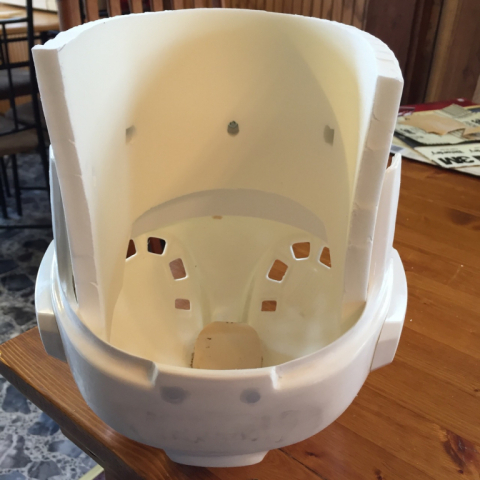
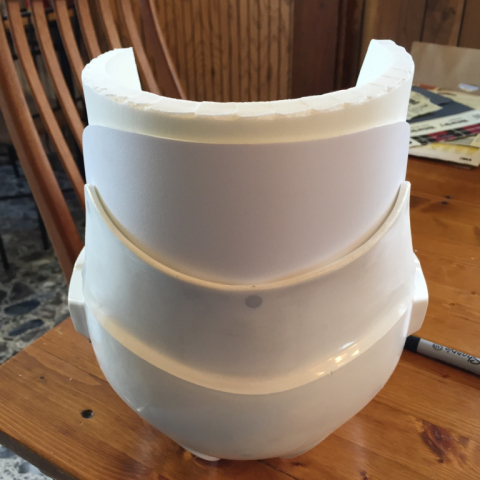
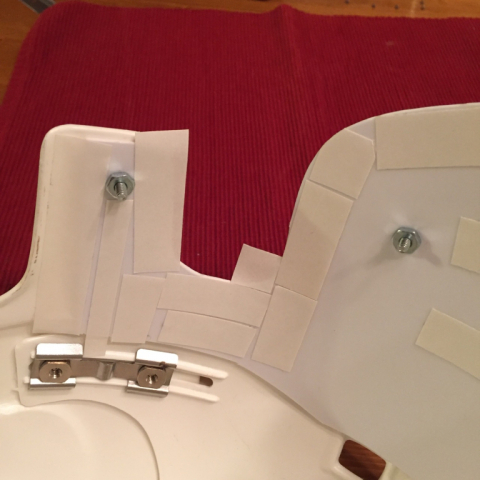
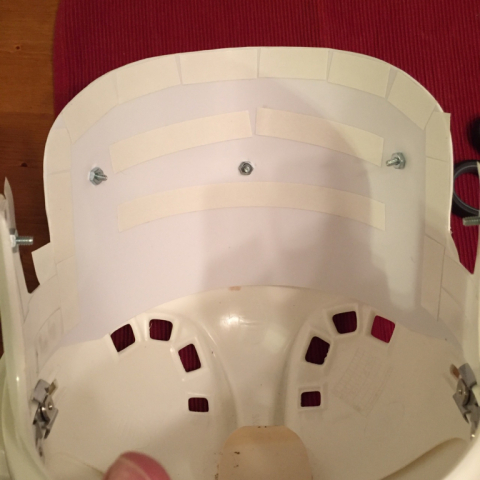
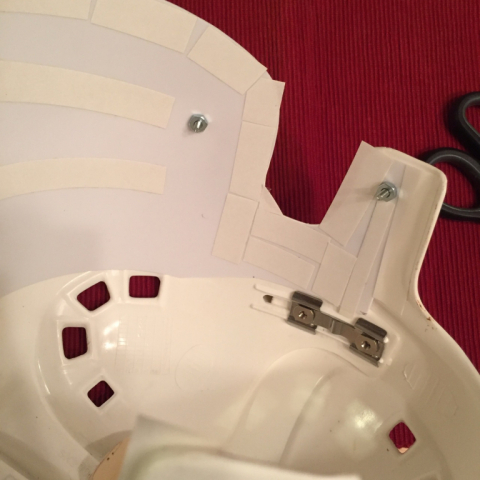
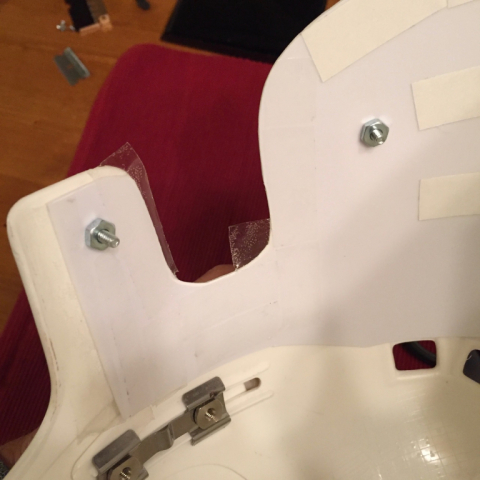
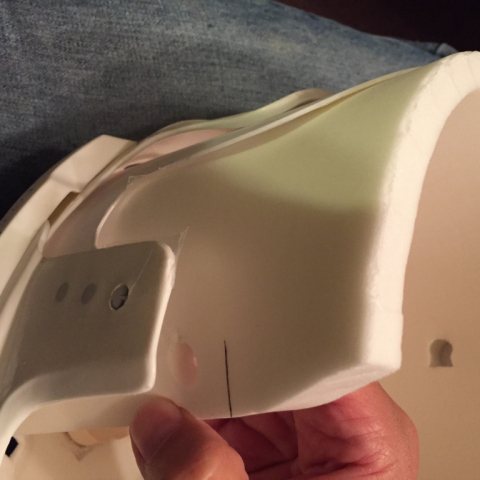
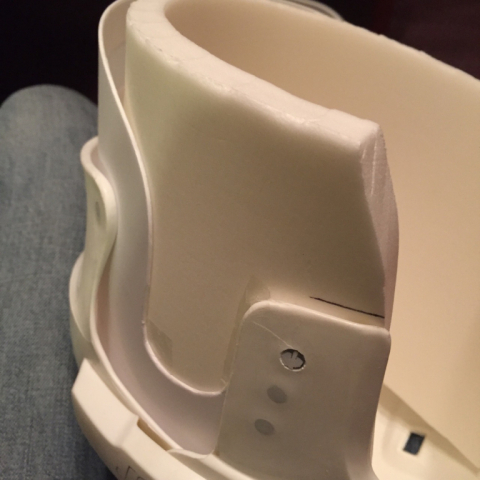
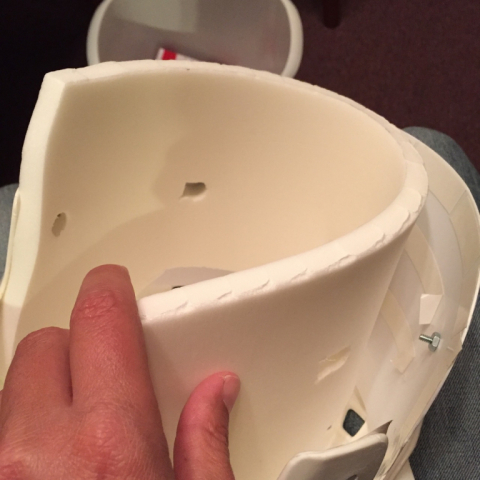
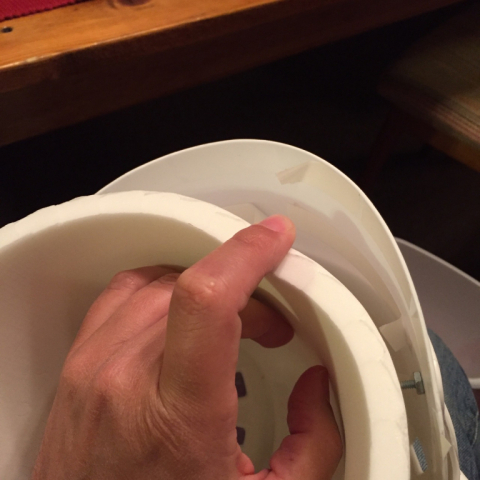
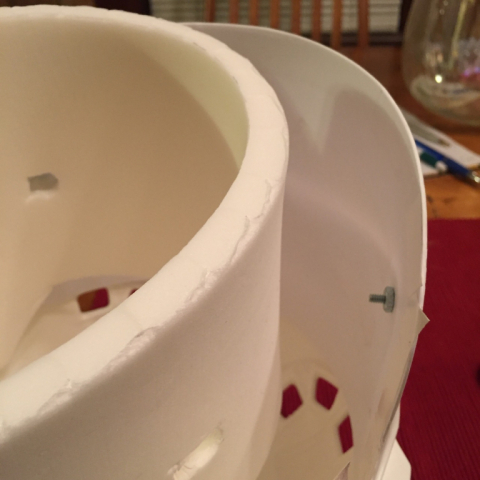
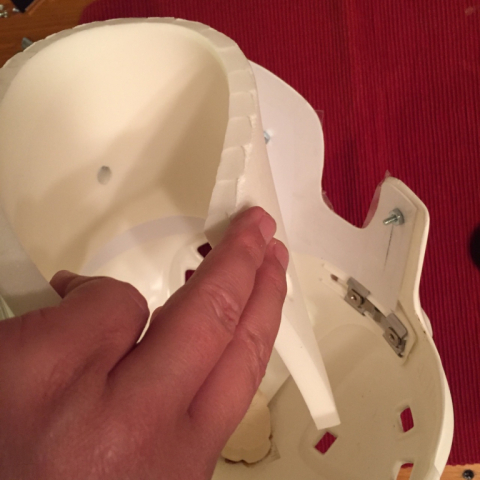
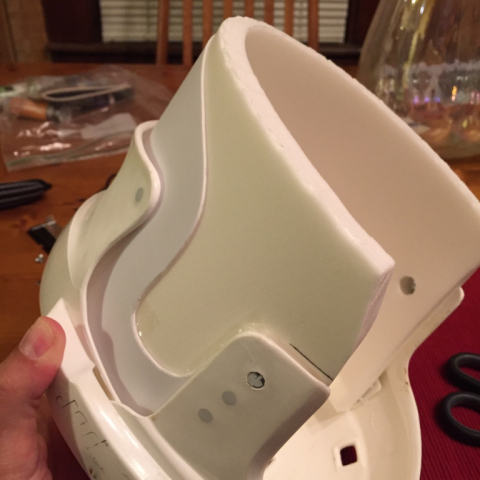
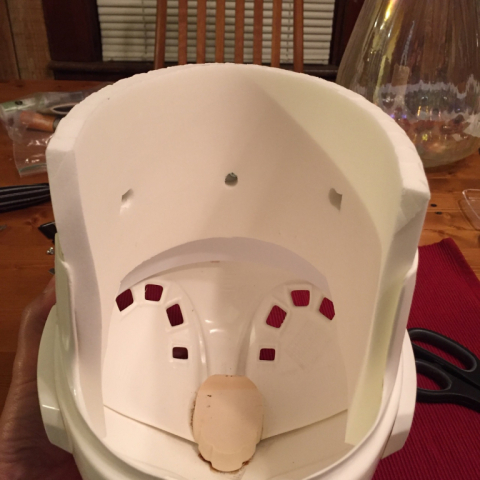
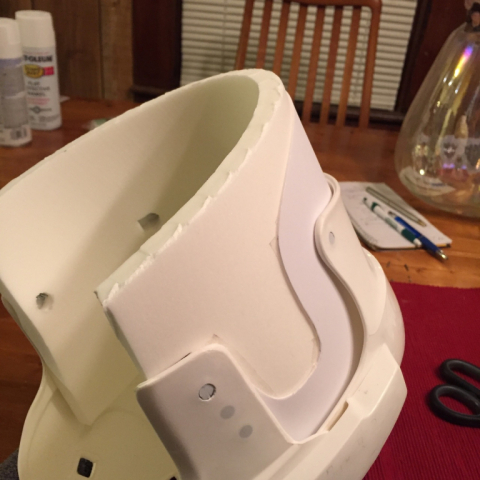
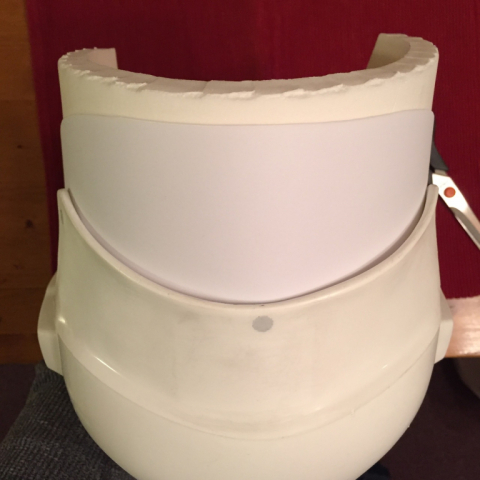
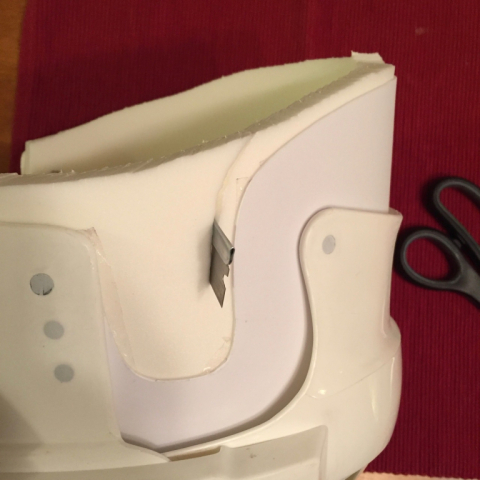
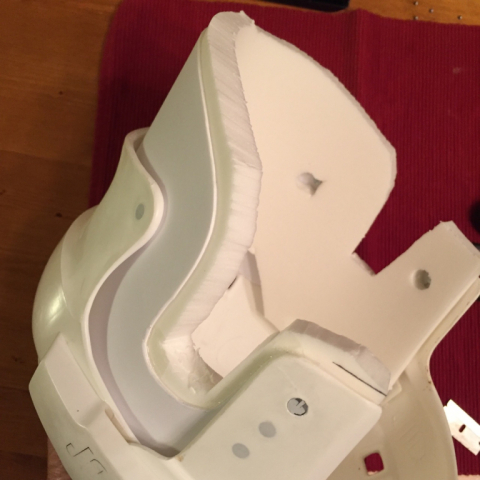
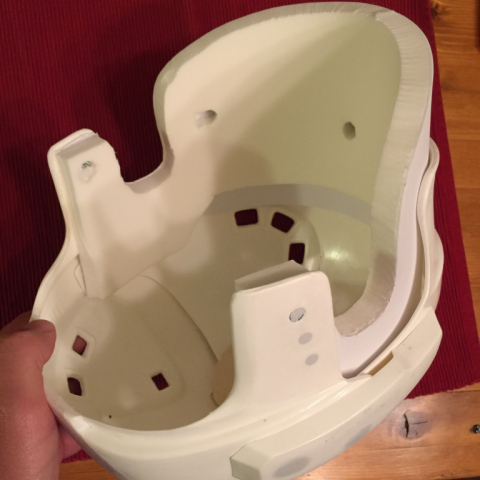
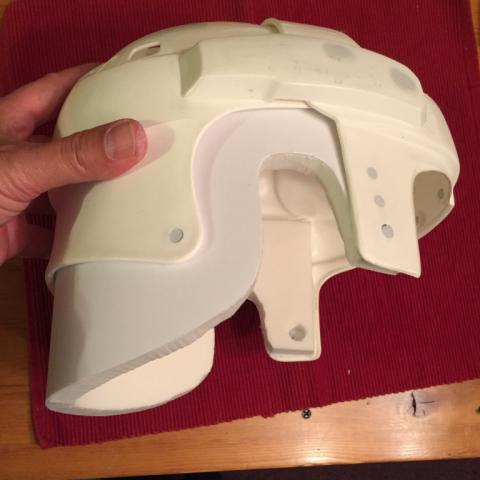
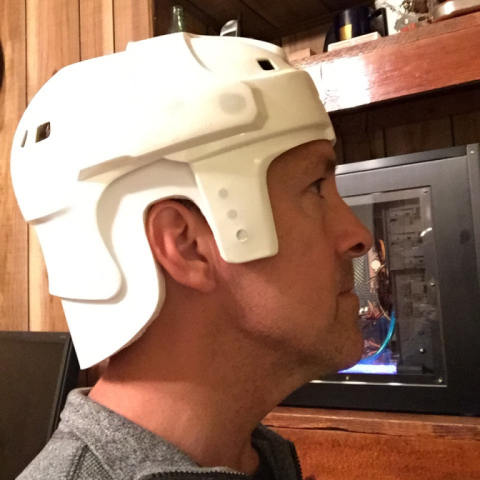
The original TRON prop helmets used only craft foam for the neck visors. For durability, as shown above in a previous step, I opted for rigid vinyl to closely match the helmet's plastic. But that thin visor "shell" needs the craft foam for thickness, fit, and original look. Behold the final result:

Neck visor complete, using rigid vinyl backing and craft foam padding. Looks authentic compared to original prop helmets, yet is more durable in the long run.
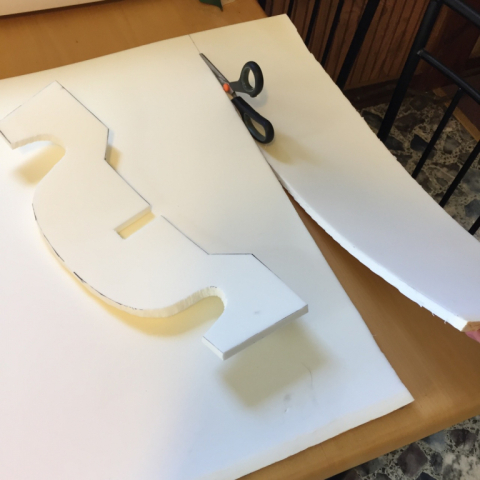
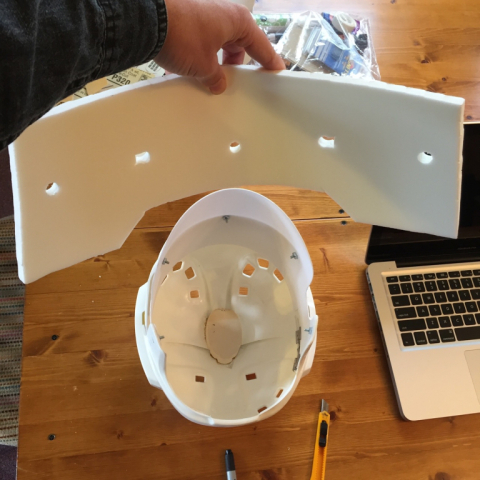
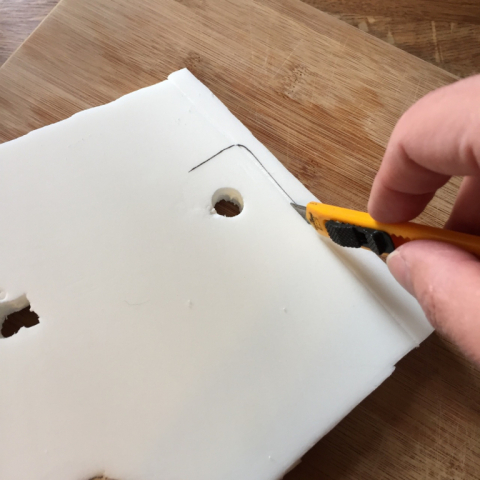
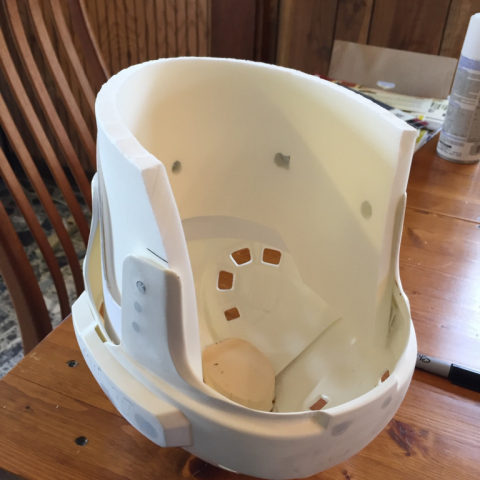
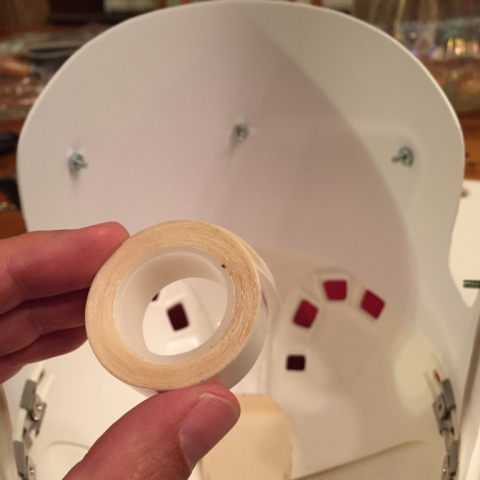
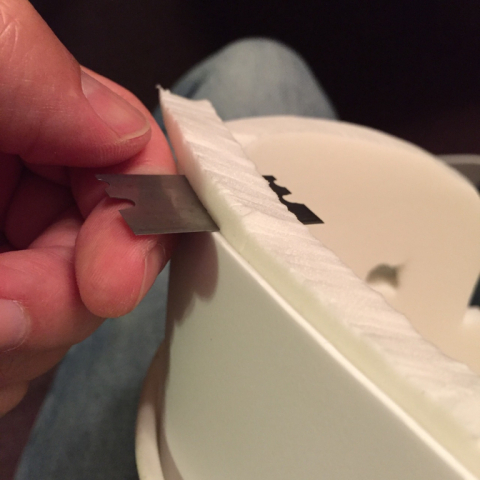
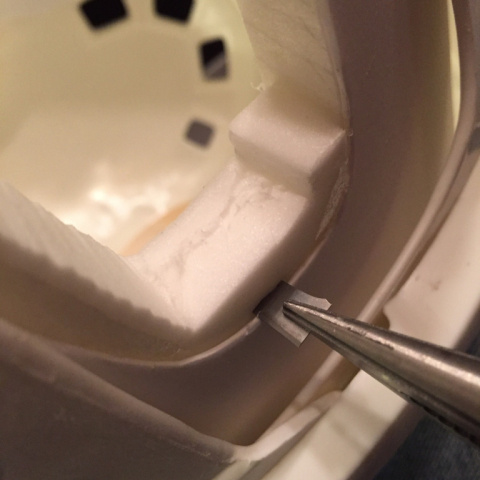
The craft foam is 1/2" closed cell polyethylene from The Foam Factory (1/3 sheet, $16.99). Below is a photo album showing the detailed steps to rough-out the neck visor's craft foam padding, bond it to the rigid vinyl backing, and do final cutting and sanding.
May 1, 2017: Helmet Base Coat Complete, Ready for Line Art
After two coats of enamel primer 1000-grit sanded, I applied two coats of flat white enamel. The helmet is now ready for line artwork to begin. For the line work, I'll use painter's tape to mask each line and I'll apply flat black enamel using this new airbrush kit I got. Looks like fun!
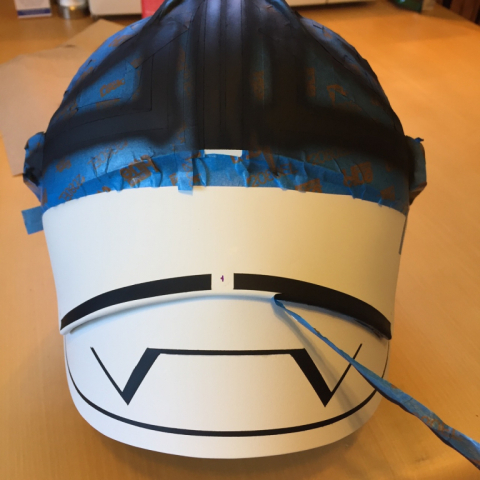
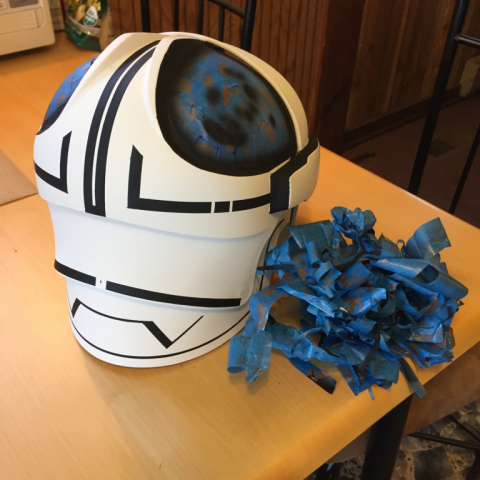
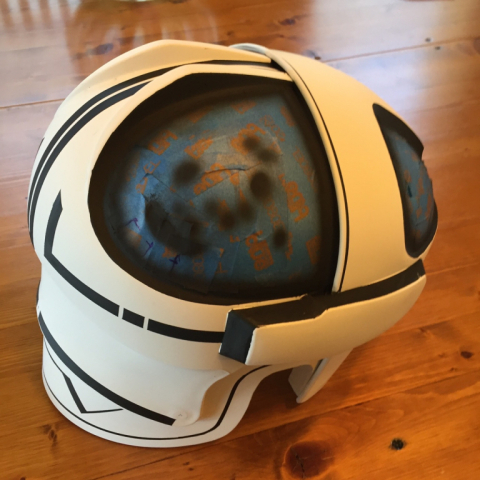
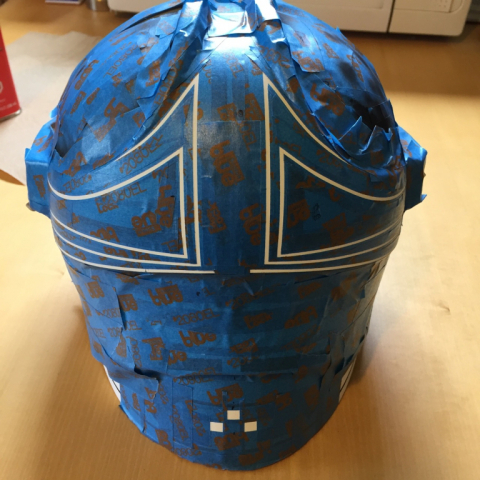
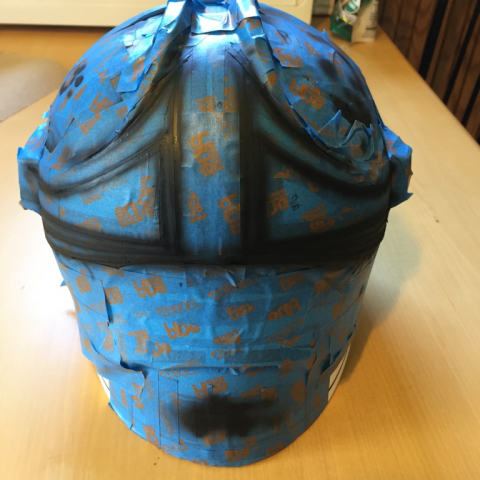
May 9, 2017: Helmet Line Art is Underway
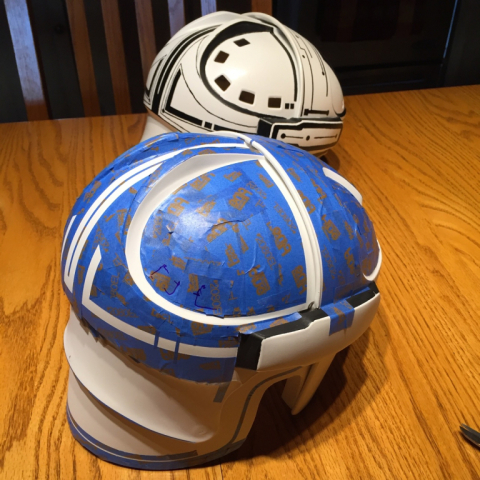
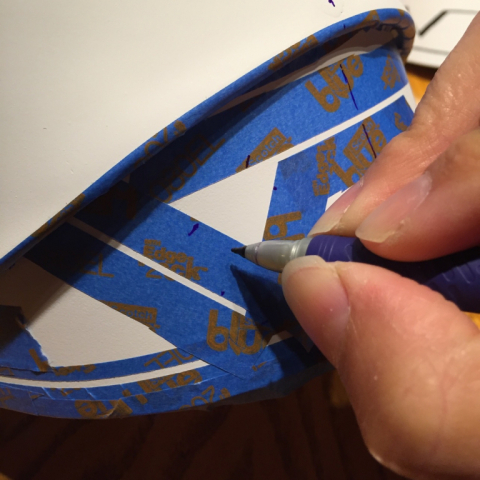
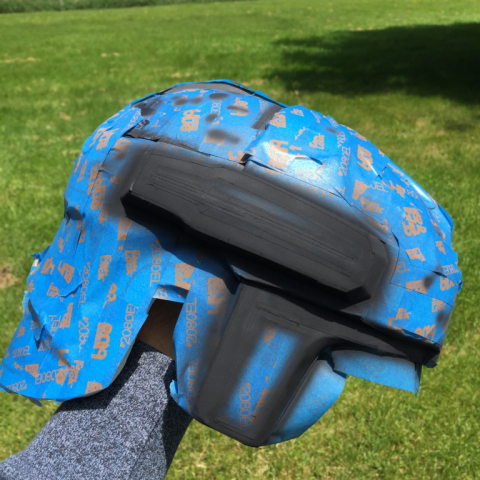
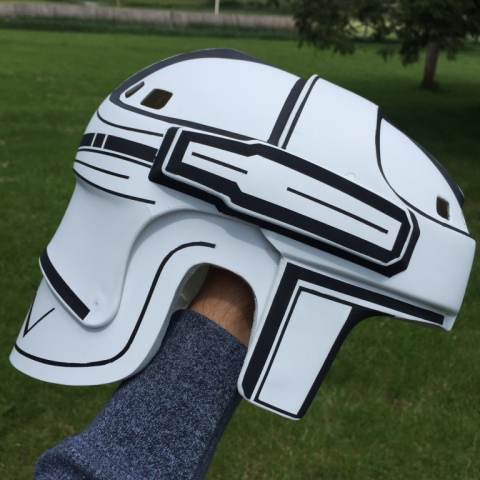
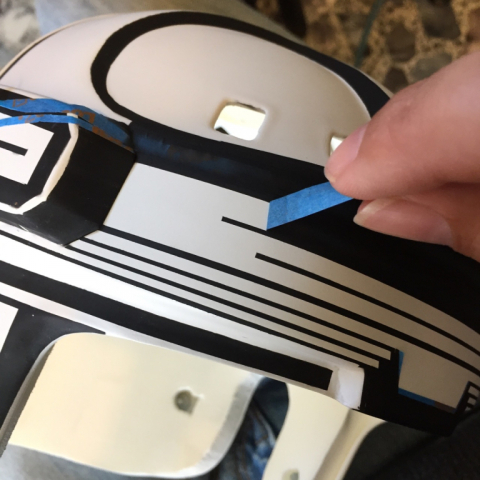
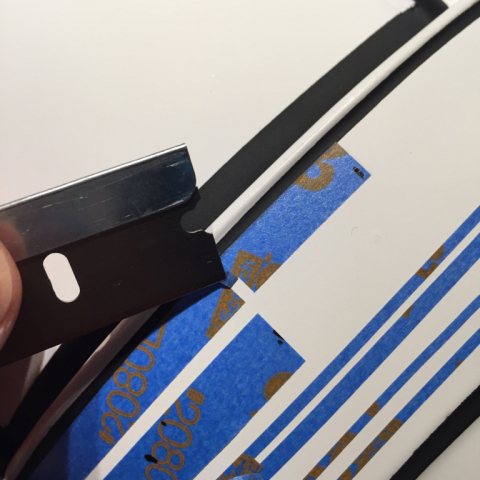
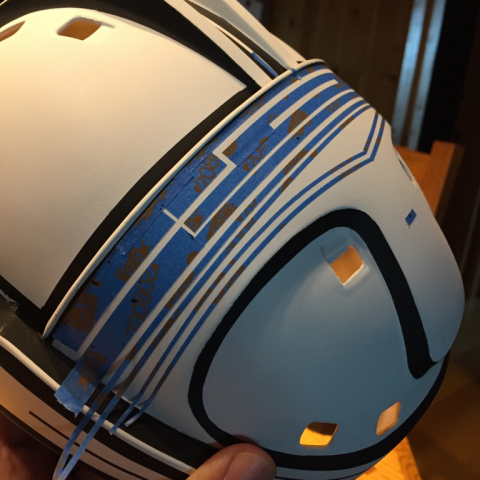
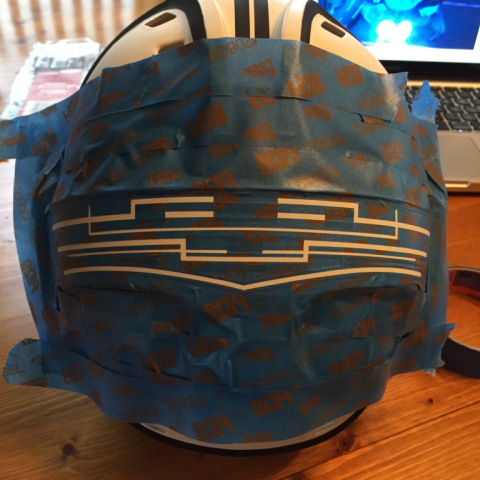
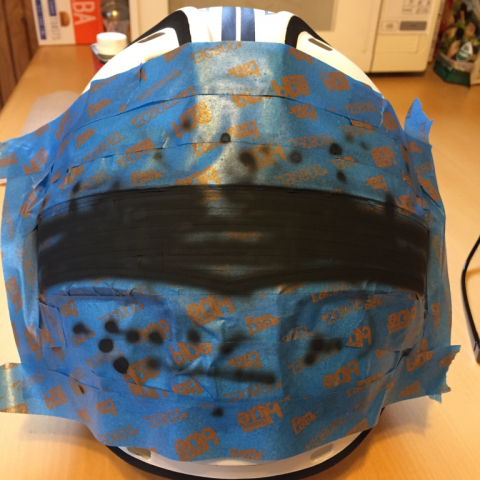
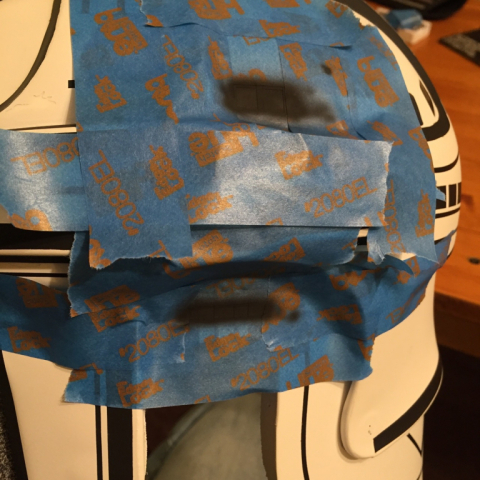
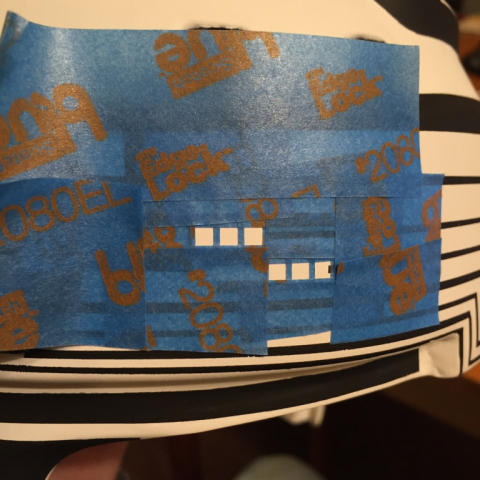
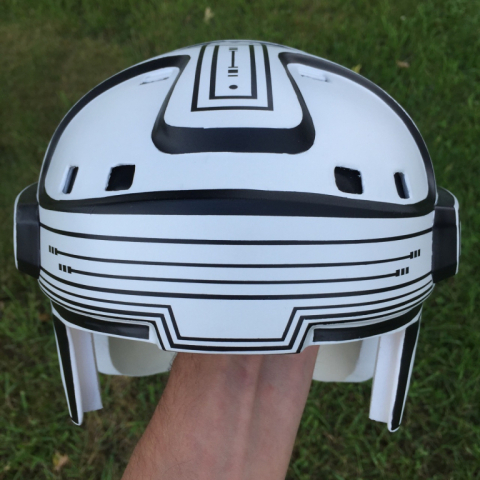
Whew, it's a lot of work to mask off the helmet to paint a few lines black! But the results are well worth it. This is the first of probably 3 to 4 masking/airbrushing iterations (each should be simpler than the previous). The flat white "canvas" of the helmet along with the flat black circuit lines results in an amazing prop replica. The original prop helmets used black tape for the circuit patterns. I'm hoping that once my painted line art is topped off with flat clear, the helmet will have a very durable finish that should outlast the adhesive of any tape or pin-striping material.
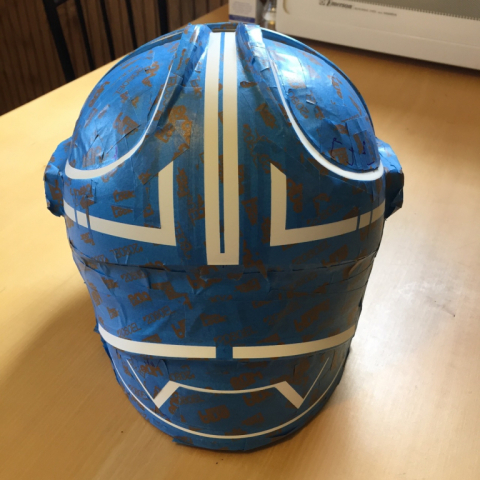
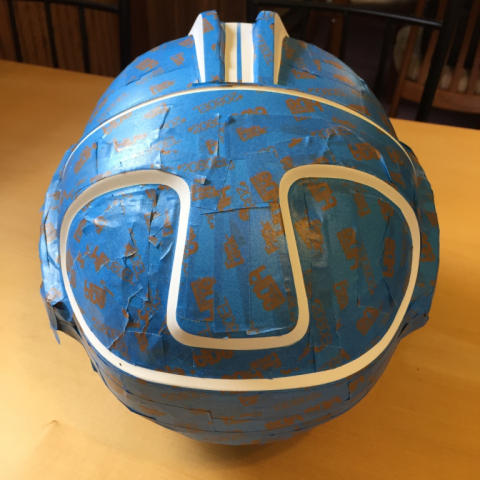
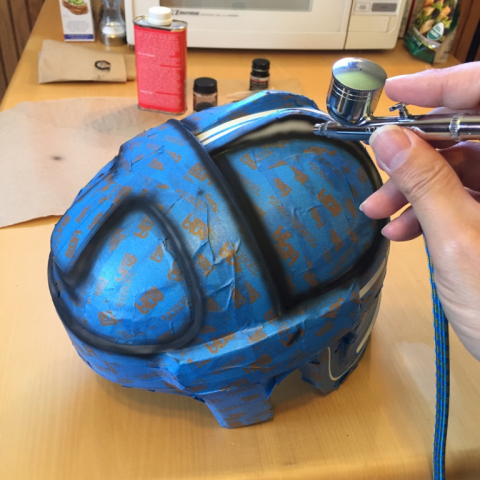
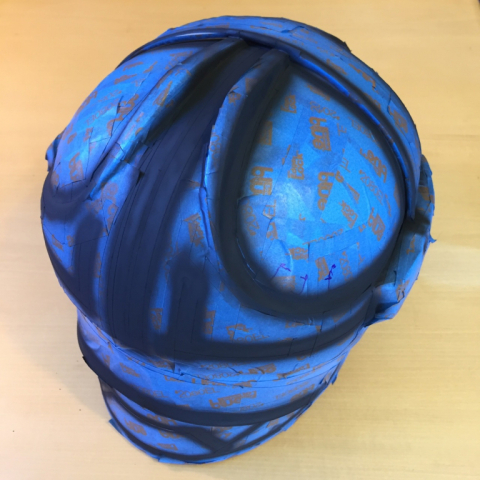
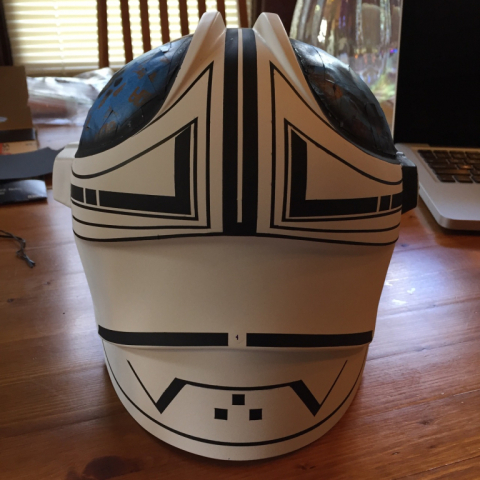
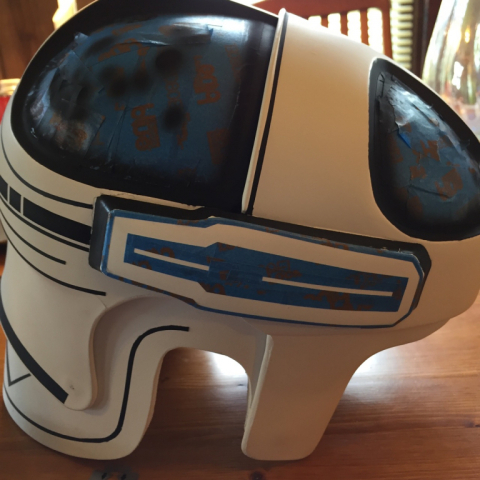
May 14, 2017: Helmet Line Art, Phase 2
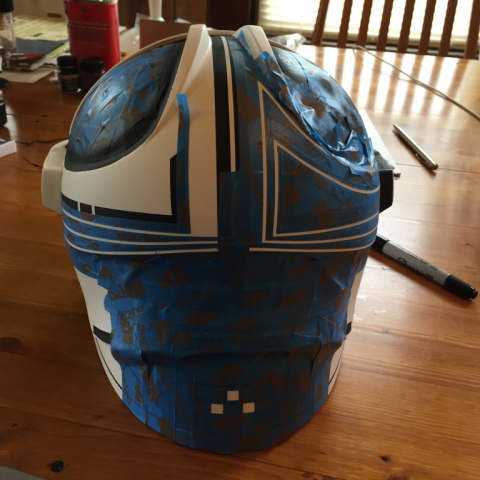
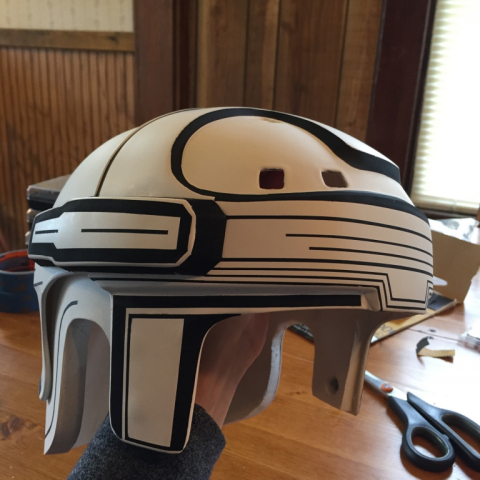
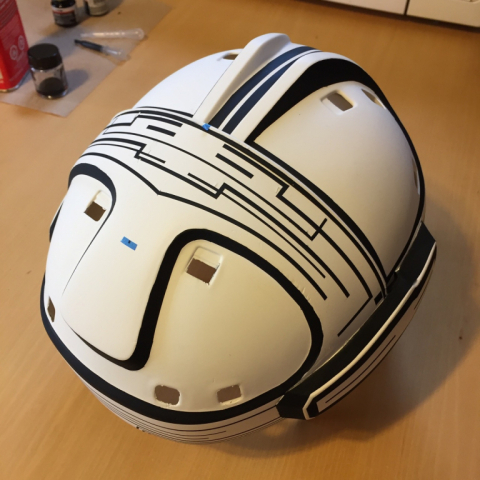
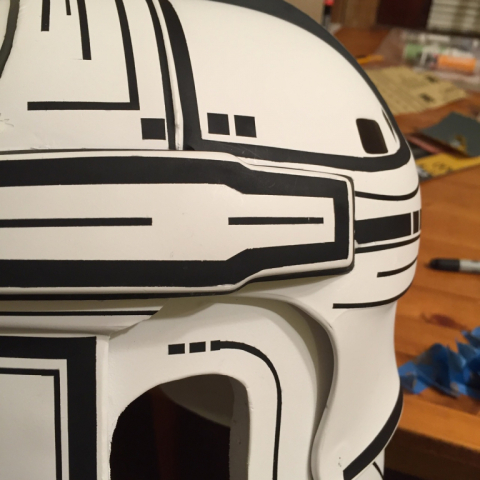
This phase of masking and airbrushing was focused on the finer lines on the rear of the helmet, the side bumpers, and the areas in front of the ears. This finishes up those areas, save for the round dots here and there, and square dashes that have to be applied to the ends of some of the circuit lines - these touches will be in the final phase. But the next phase will be the helmet brow and crown. For now, please enjoy the pictures below.
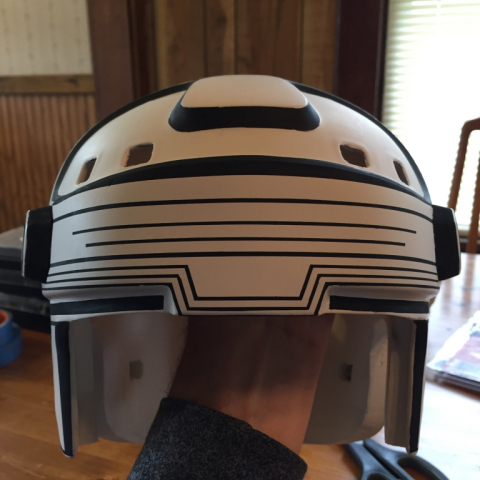
May 22, 2017: Helmet Line Art, Phase 3 (brow area)
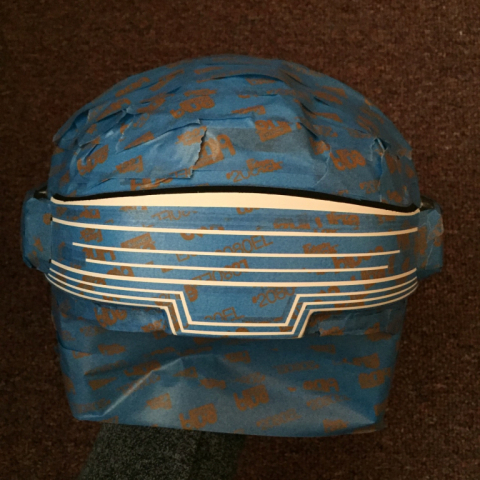
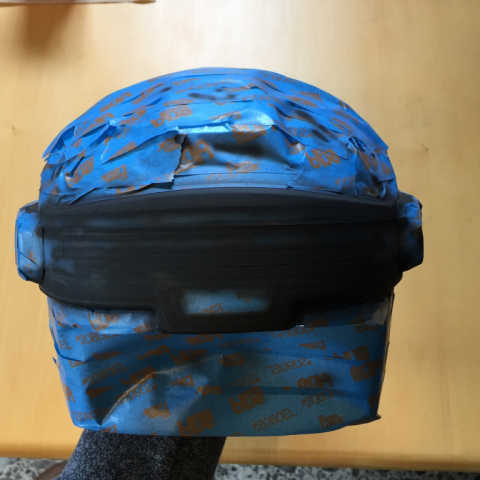
With about 8 hours of work, I taped and airbrushed the front (brow) of the helmet. I've learned that straight lines are the hardest. There are some square dashes to put on the ends of two of the lines, which I will do in the final phase. Next phase - and last major area - will be the crown.
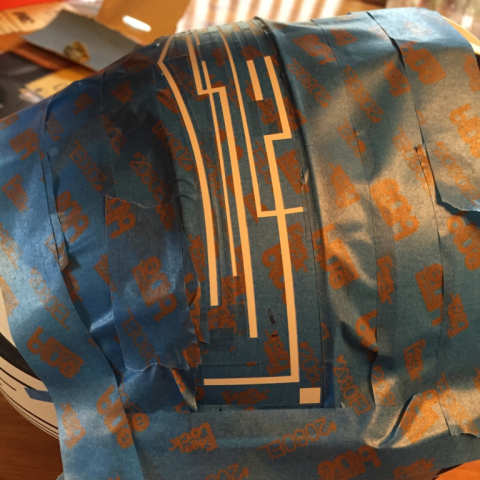
May 28, 2017: Helmet Line Art, Phase 4 (the crown)
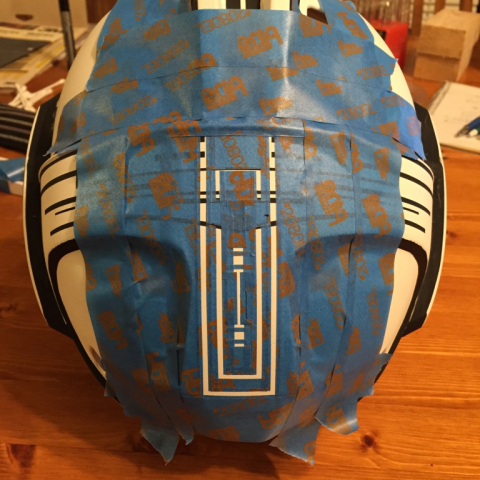
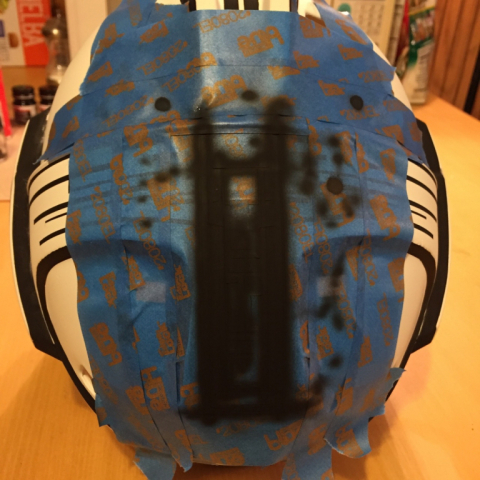
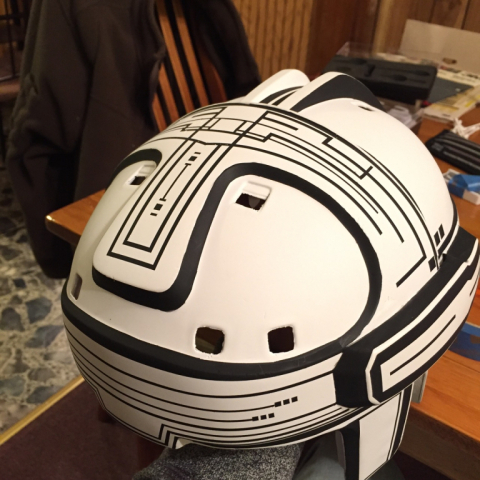
The crown is complete, and this finishes the last area of the helmet. The patterns of the crown were the most difficult to lay out and replicate. Also completed squares and dashes. Circles remain to be done, along with final touch-up prior to matte clear coating. The tape lifted small chips of white paint here and there, so that will require airbrushing with flat white in the touch-up phase.
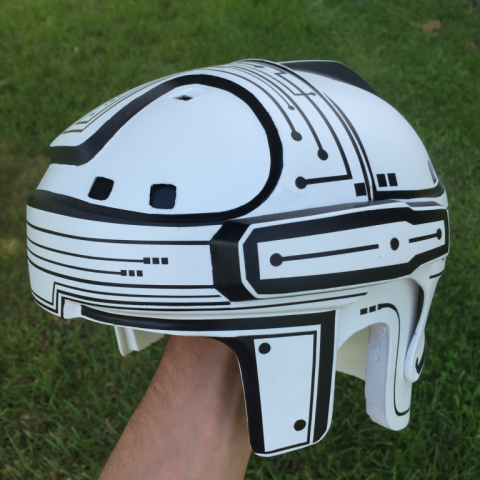
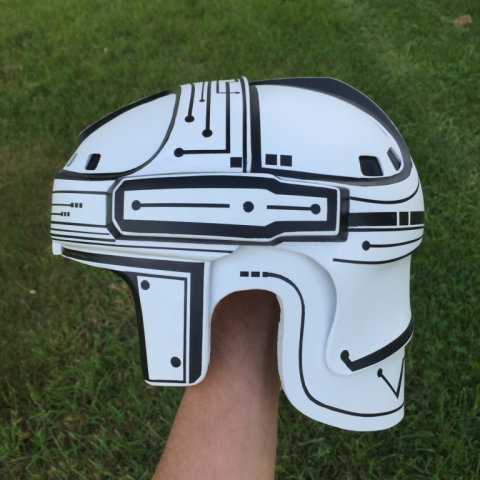
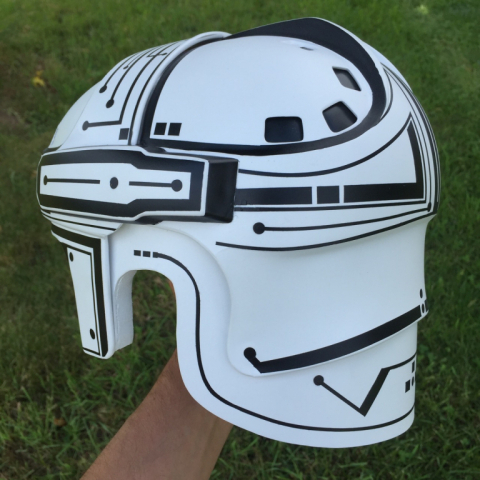
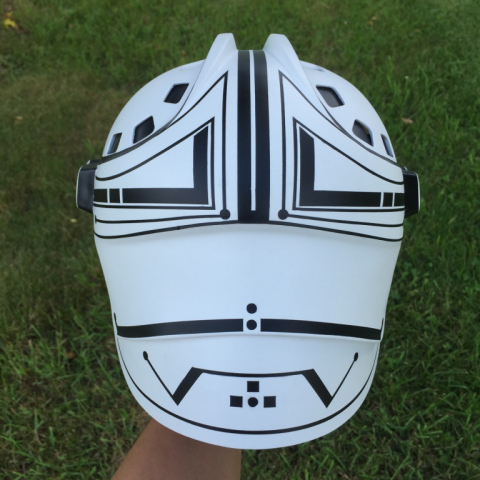
June 11, 2017: The Completed Kevin Flynn Helmet
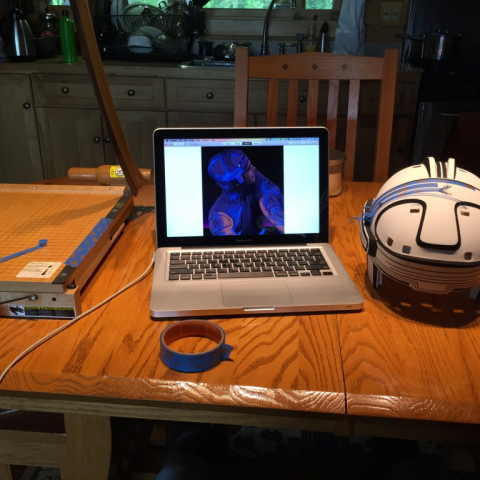
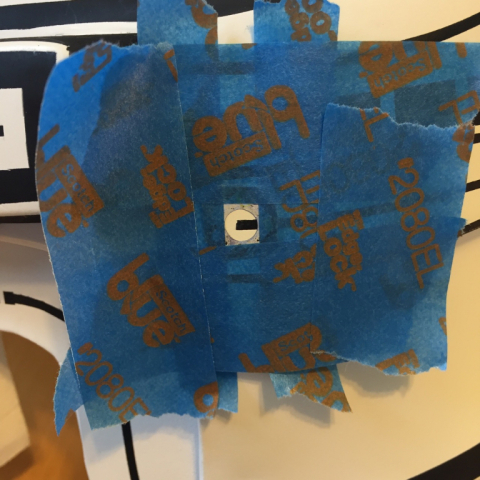
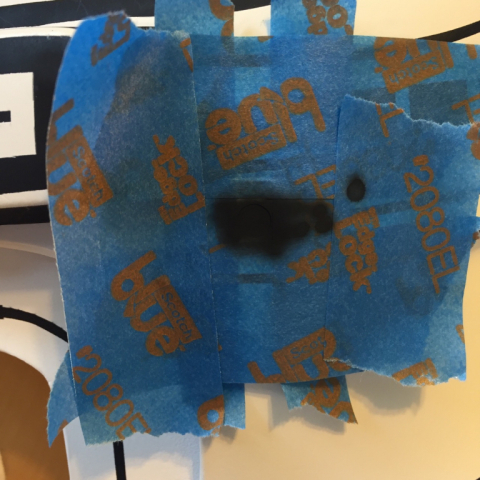
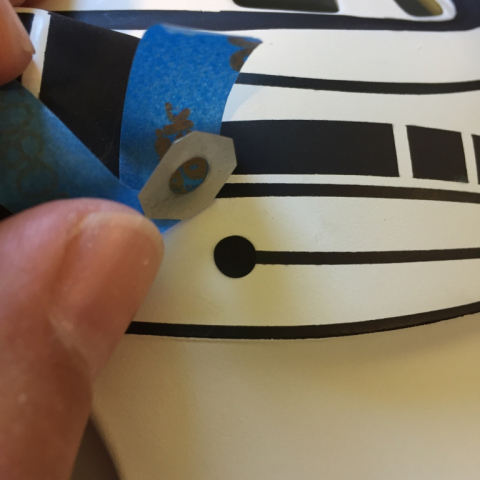
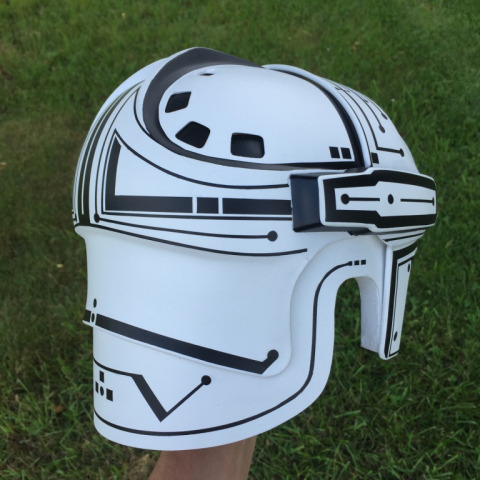
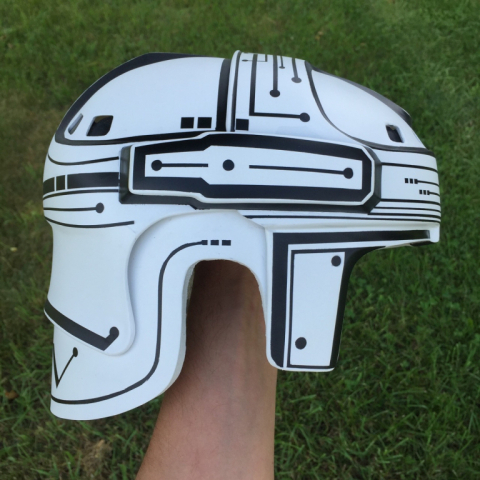
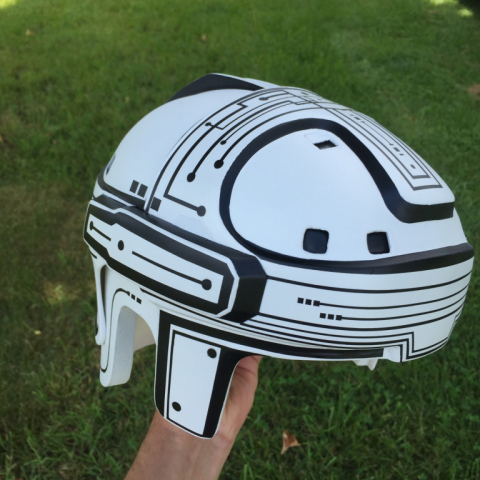
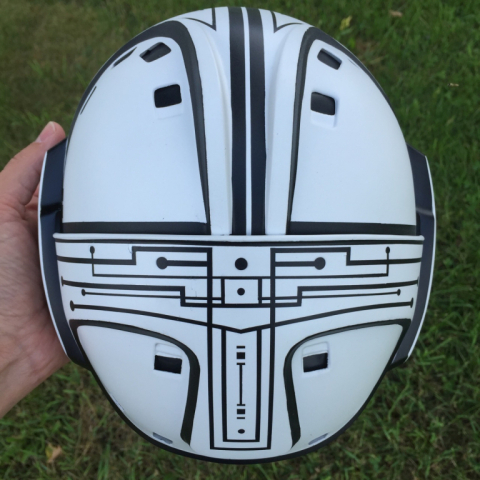
After airbrushing 36 circles, final touch-up, and spraying a matte clear top coat, I am proud to announce that the Kevin Flynn replica prop helmet from TRON (1982) is complete!
Previous Chapter — Flynn's Right Gauntlet
Next Chapter — Flynn's Identity Disc

