TRON (1982) Cosplay — Kevin Flynn's Right Gauntlet

July 9, 2017

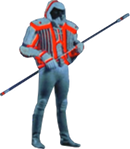
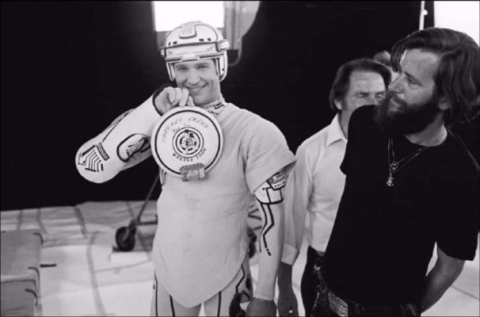
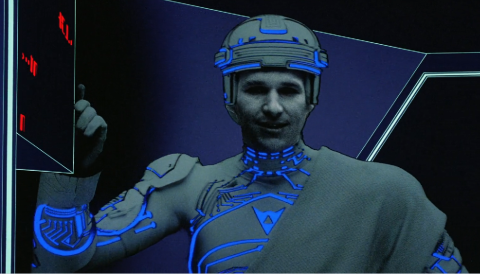
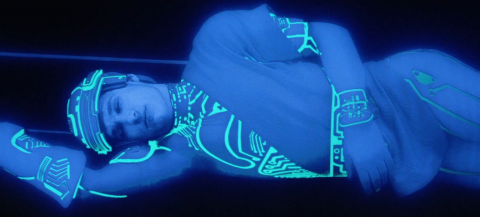
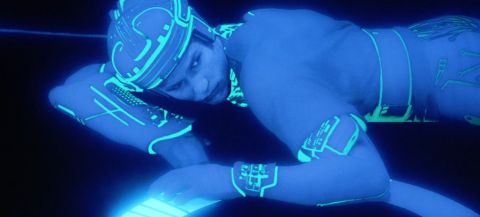
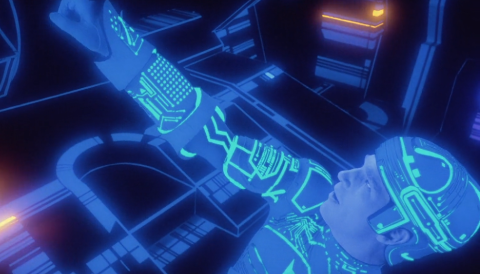
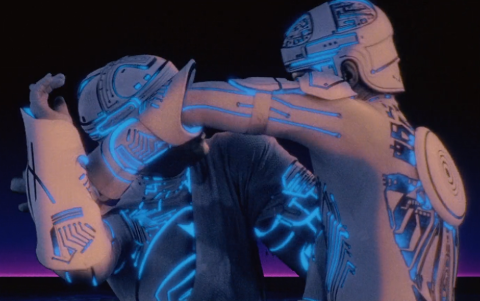
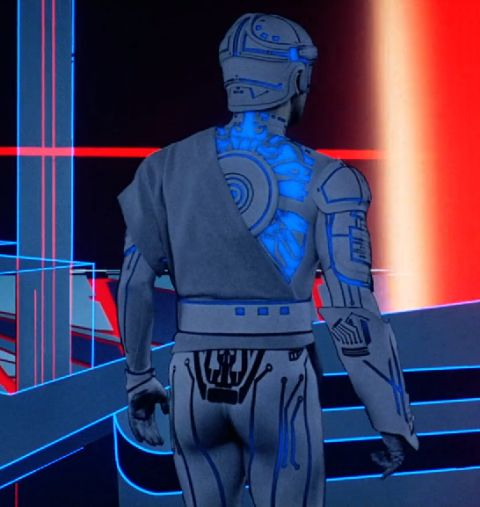
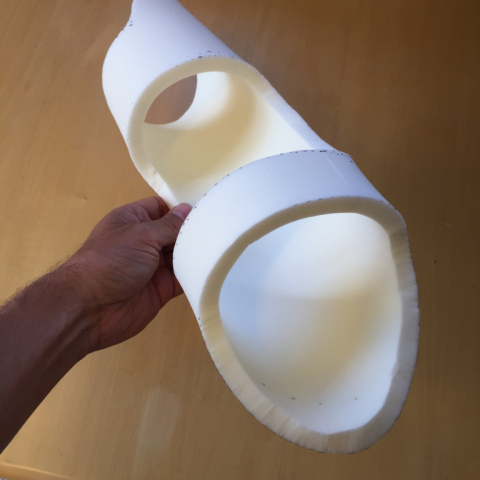
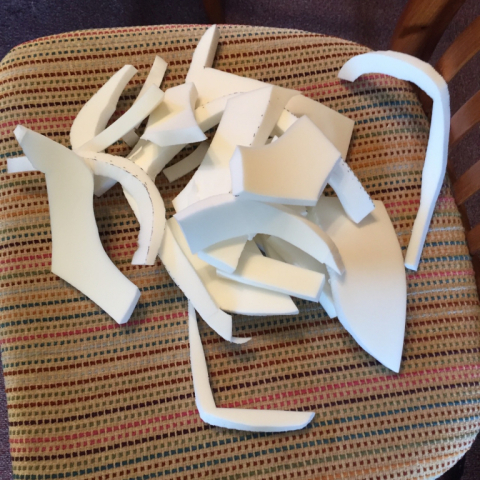
The recreation of Kevin Flynn's right gauntlet was daunting. I wasn't pleased with my first two attempts, but the third attempt worked well. For reference, here are some images and screenshots of the gauntlet that Jeff Bridges wore. These are what I based my work on:

Shows back of elbow. From an online auction site for the actual prop. From an online auction site for the actual prop. Shows hand guard. Shows underside.  This pattern is used on the back of elbow but mirrored. Back of elbow. Shows the 3 lines. Center panel. Back of elbow.  Compare all these pics and you'll see differences where the lines end; must have been a few he wore. Shows back of elbow and long lines toward wrist.

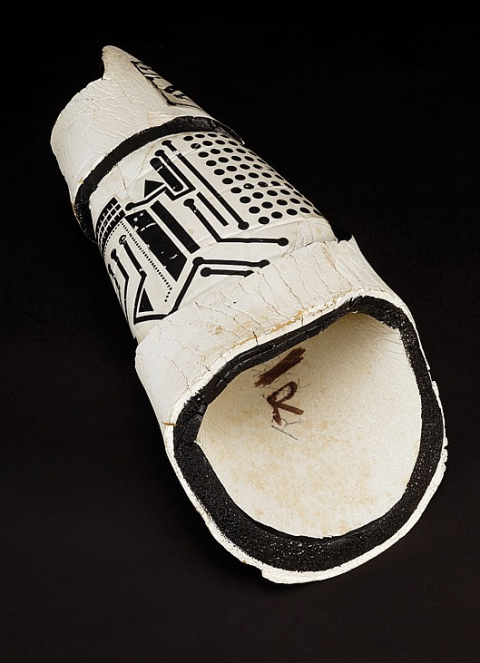
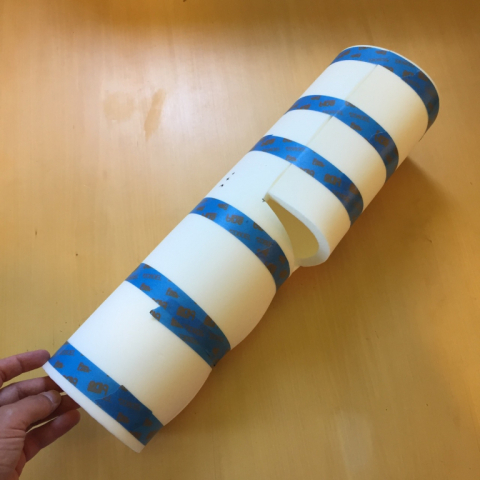
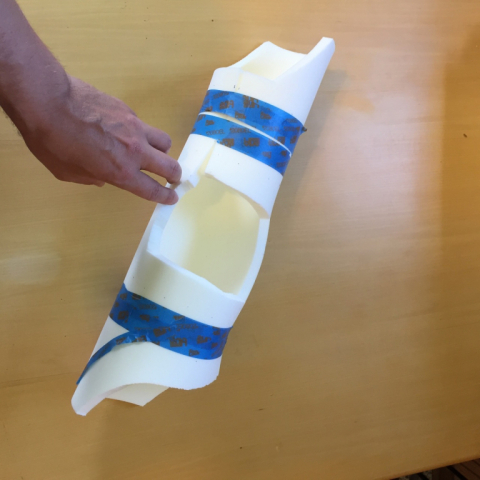
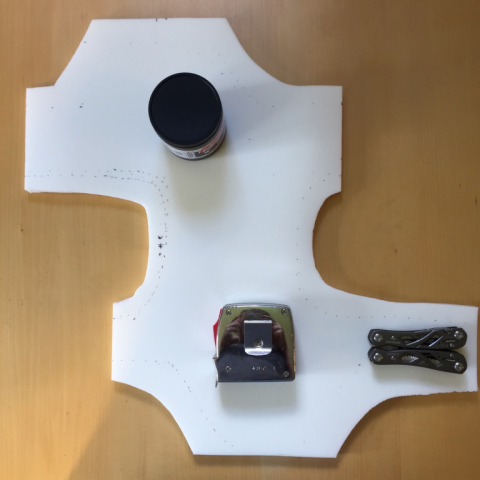
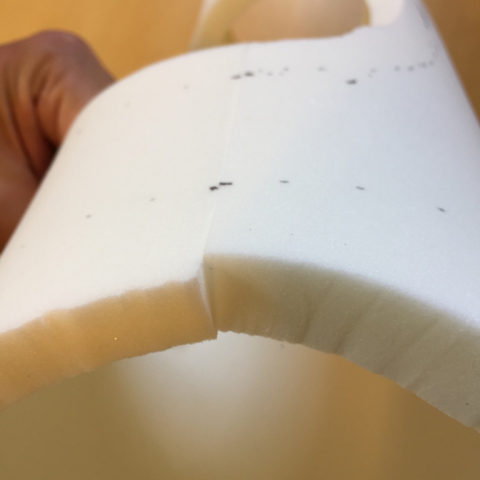
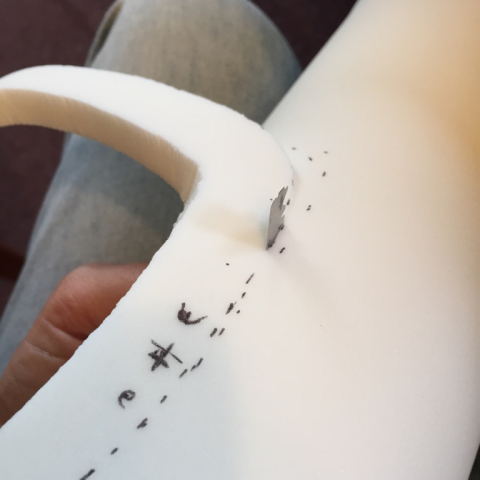
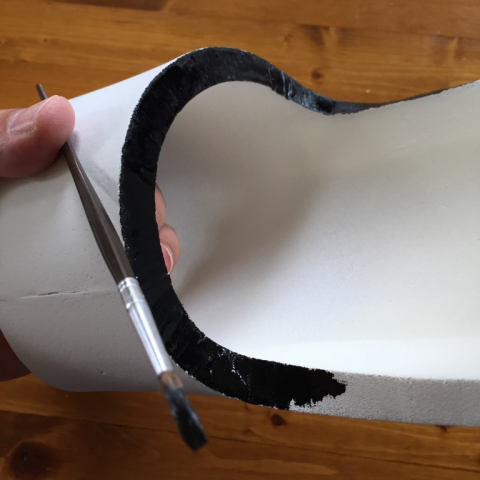
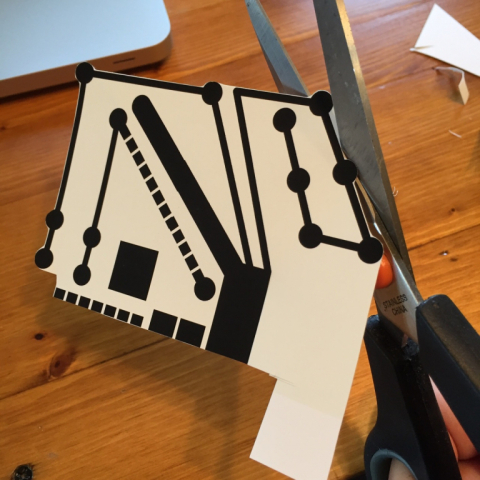
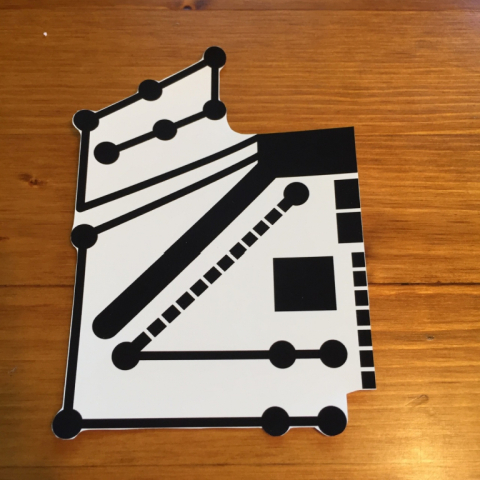
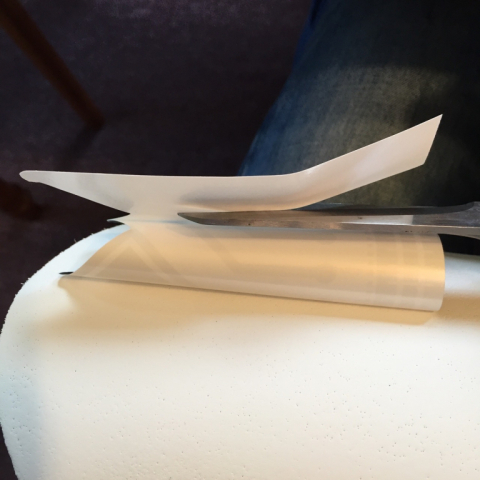
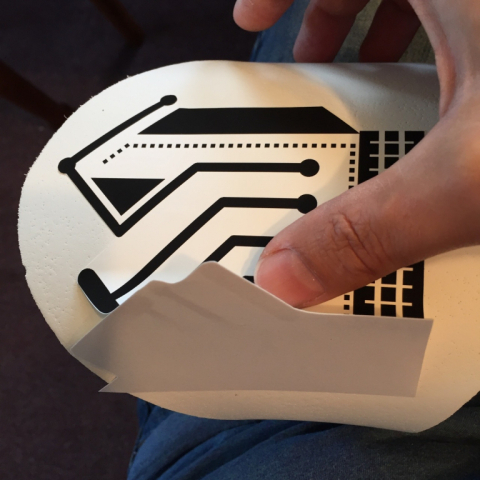
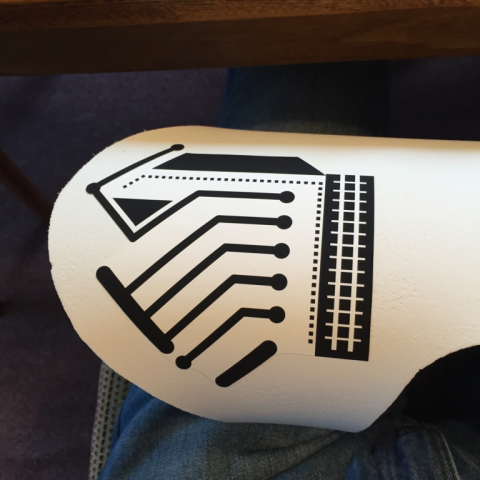
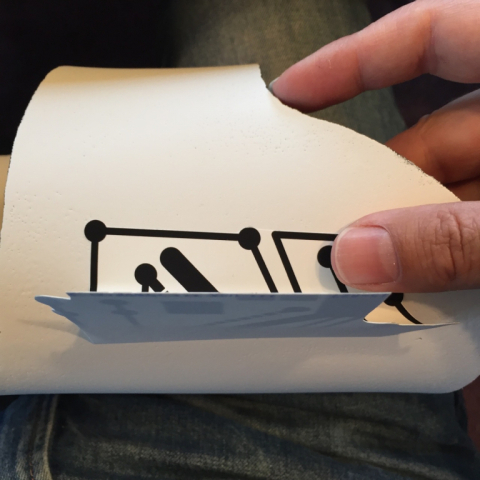
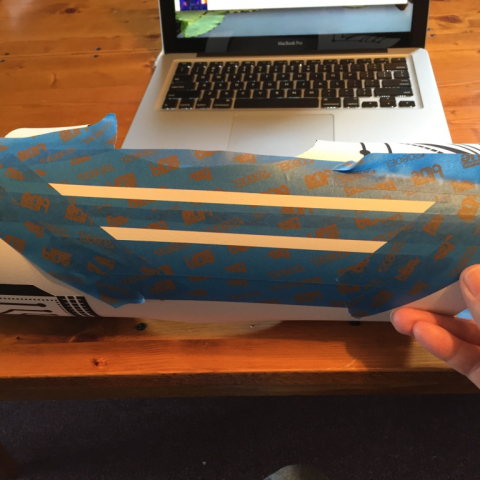
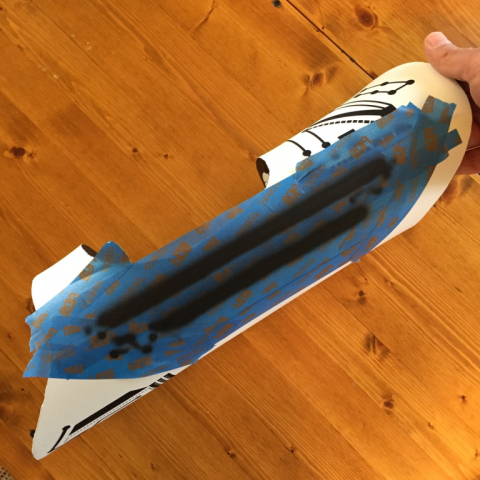
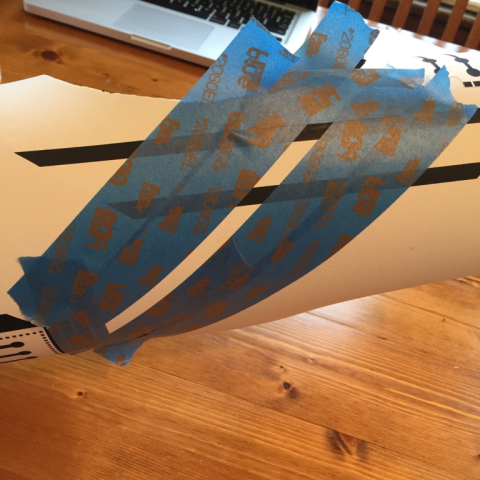
For my recreation, I used the same craft foam I used for the helmet neck visor. For the line art, I used ink jet matte white vinyl adhesive sheets for the 3 circuit patterns on the hand, elbow, and central panel. For the 3 long lines, I masked and airbrushed them. I used GIMP to digitize the original graphics by placing them as background layers and retracing and interpolating them into new layers. So my graphics are very true to the original work.

The foam is hard to paint, requiring about 3 coats of primer and 3 coats of flat white enamel, sanded in between. In printing the circuit patterns, I noticed that the matte white vinyl ink jet sheets were a brighter white than the surrounding enamel, so I spent a lot of trial and error to color match and reprint with a matching off-white background.

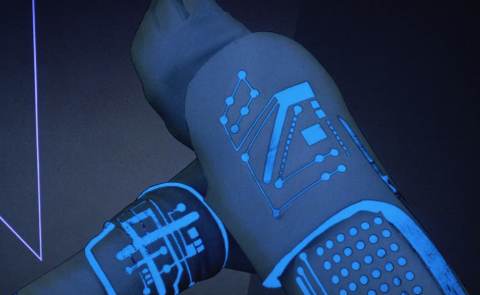
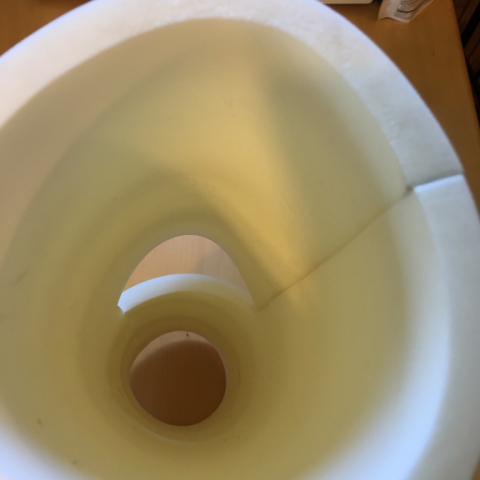
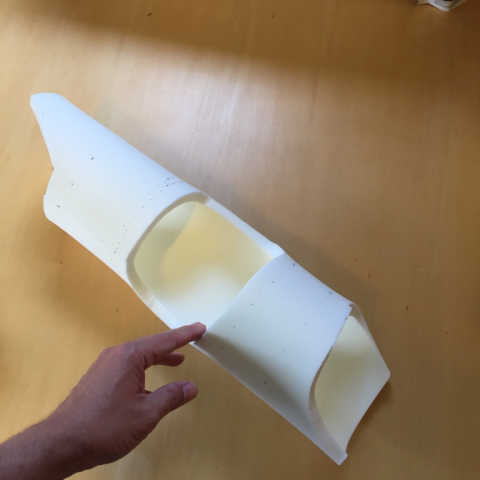
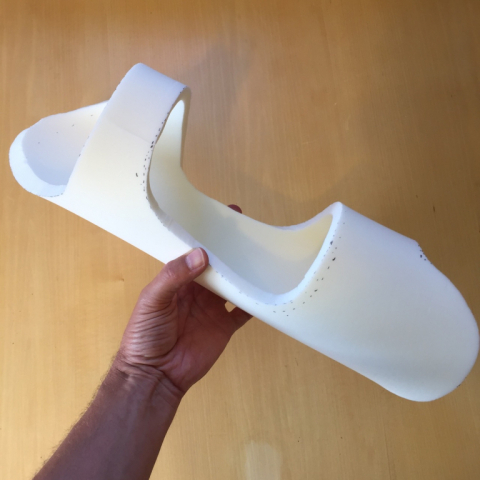
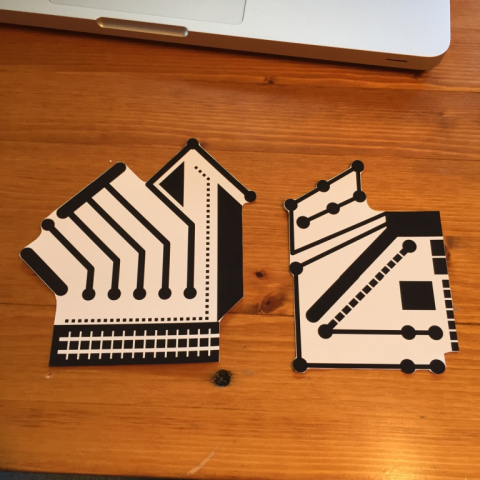
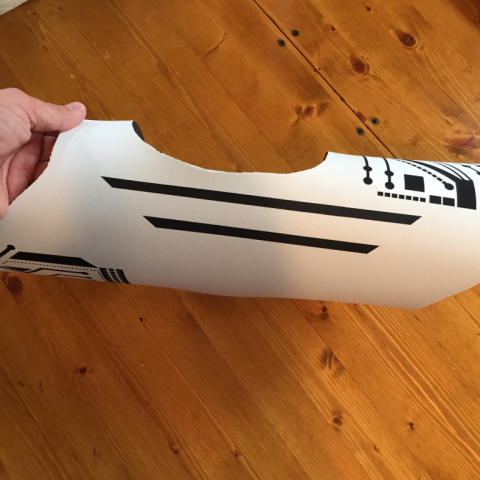
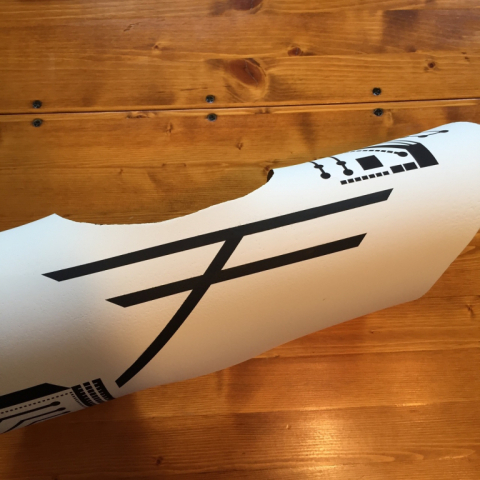
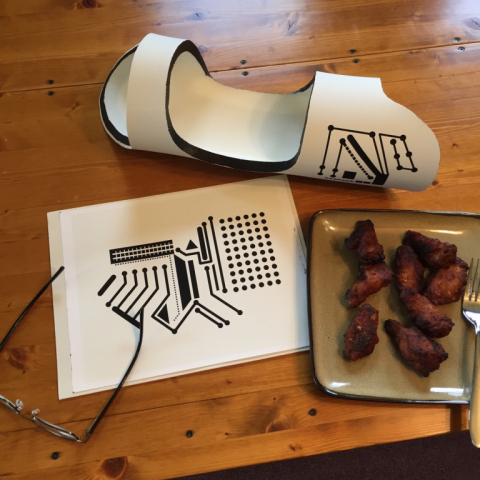
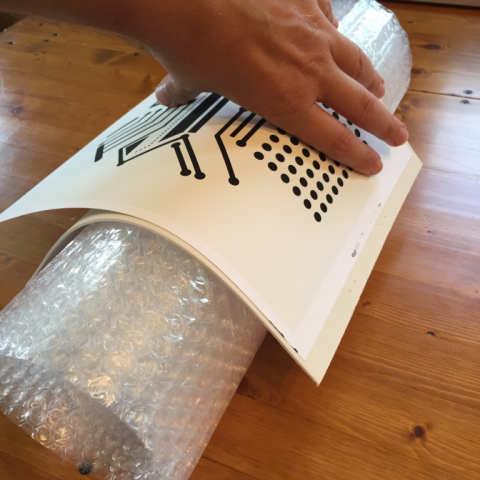
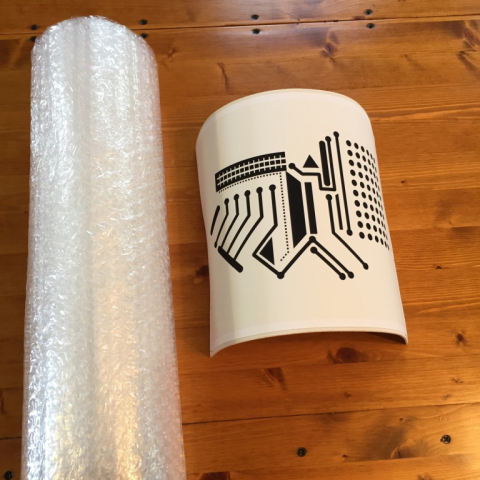
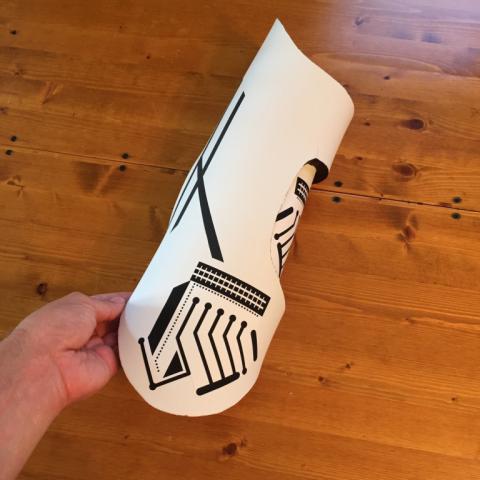
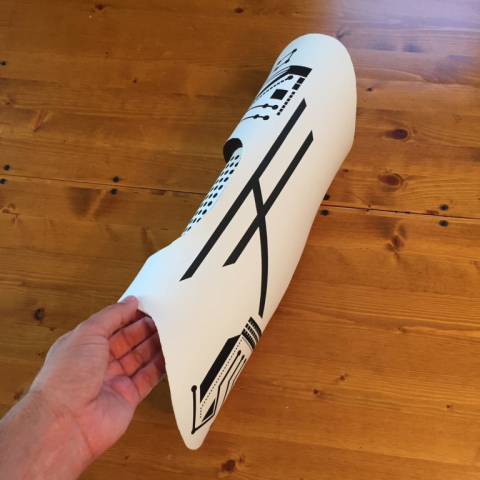
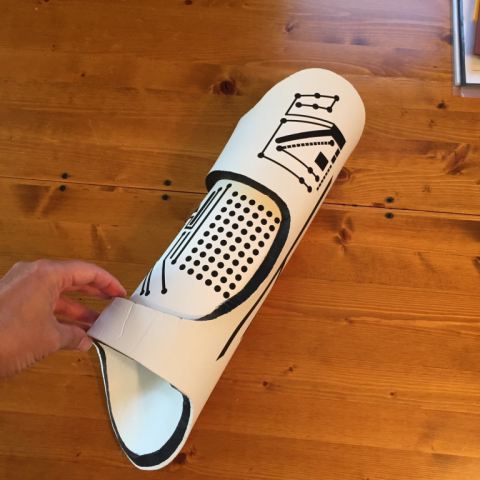
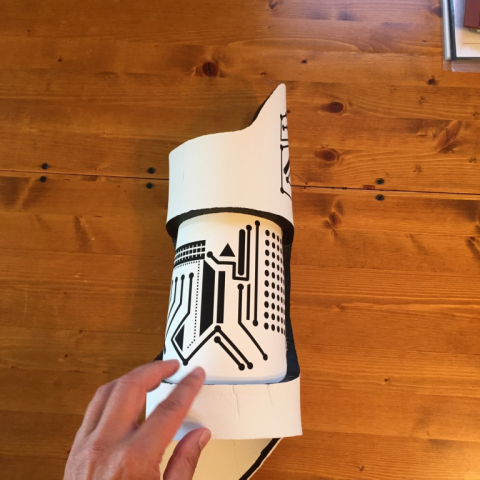
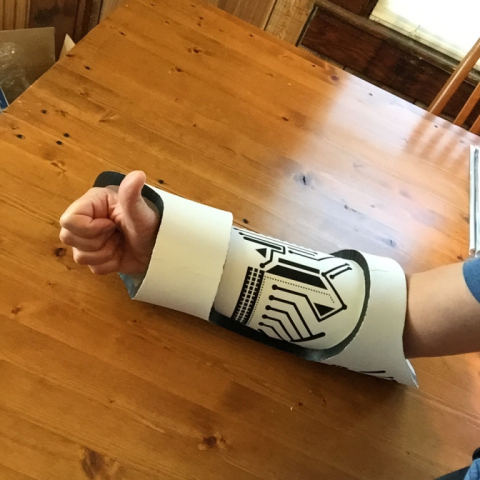
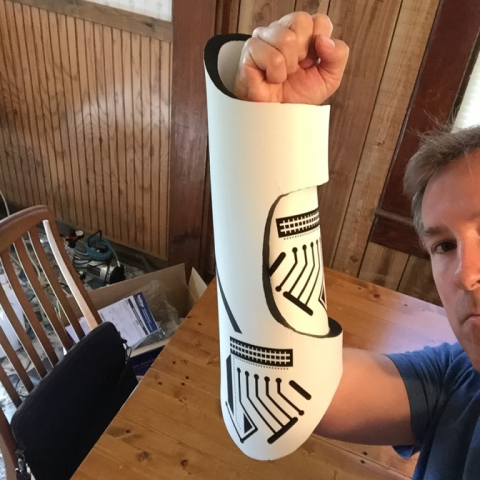
I am very pleased with the final result. The printed vinyl graphics adhere well and, after solving the color matching of the background, blend into the prop very well. Getting the central panel inset adhered was tedious; I used drops of superglue in small segments and worked my way around the boundary, holding each segment for 60 seconds or so before moving on to the next. After about half an hour, I had the inset fastened in completely. Here are some pictures:

The "tube" is actually joined at 2 seams that are about 90 degrees apart around the tube. Lower seam is seen here. This shows the upper seam. Upper seam in right foreground, lower seam in left distance. Taped and rough cut. Random objects to hold down the foam.  This is what the template looks like.  Weird, but correct. I superglued the seams.  Holds very well. Second round of shaping cuts using a razor blade. Cutting with half a razor blade for the sharp curves. The final cut.  (I actually tweaked it some from here out, but this is basically it). You can see the final shape compares to the original very well. Lots of cuts and scraps. Here it is complete base-painted; 3 coats primer, 3 coats flat white enamel.  Used Jacquard fabric paint for the black edges. Cutting vinyl decals printed on my ink jet.  Note the off-white background to color-match the surrounding paint. Final cut of the hand guard graphic. Final cut of the hand and elbow graphics. Cutting away a sliver of backing to get started makes alignment easy... ...then work off the backing by sliding your thumb back and forth as you move forward. Blends in very well. Same for hand graphic. Looks great. Time to airbrush the 3 long lines. Two horizontals first. Then the diagonal. Lunch time. Sticking the central panel graphic onto a foam craft sheet on a curve. The bias curvature will help it fit better. Finished gauntlet, with central panel superglued in. Only solutions! For the Users!

Previous Chapter — Flynn's Left Wrist Cuff
Next Chapter — Flynn's Helmet